This week we learned about Designing for Mold-making, molding and casting processes and maybe side-hustle in suncatcher-making.
Requirements
- Review the safety data sheets for each of your molding and casting materials
- Make and compare test casts with each of them.
- Compare printing vs milling molds.
Group Assignment
Individual Assignment
- Design a mold around the process you’ll be using, produce it with a smooth surface finish that does not show the production process, and use it to cast parts.
Softwares 💻
- Fusion 360
- MeshCAM
- openBuilds Control
Group Assignment
In this week we're making silicon molds and casting polyester. We covered three topics: Safety, Milling vs Printing processes, materiel test.
Safety
The most important practicies are: wearing gloves, sitting in an good air-ventilated area. reading materials' data sheet if available. We had at the lab polyester so when I researched I found this data sheet for polyester and resin.
Milling vs 3D printing
This is not my first time making molds, I tried making a mold of the bust of bastet. An Egyption god with the head of a cat. But I didn't use the process of milling but 3D printing.
But milling was new to me. In the printing process you only need the object itself and then you create the negative silicon mold using clay. you can find a very easy way by following this guide by Prusa
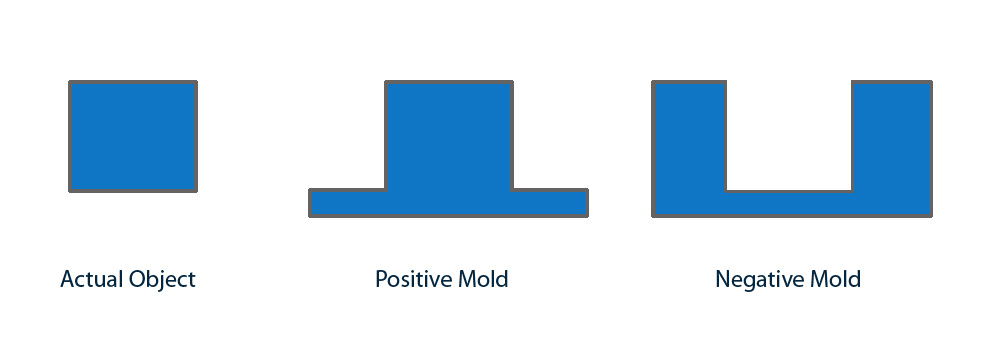
Positive vs Negative
To create any mold you first have to decide what's the type of mold you'll design to suit your manufacturing process.For example: A positive mold is an exact replica of the desired object that can be created via 3d printing like I did in my first molding trial. It could used in casting to create negative mold or in 2 part casting. A negative mold is usually used for casting liquids like liquid plastic, molten metal, gypsum, cement etc
In milling we start with the positive mold then we pour silicon to create the negative and then we create the positive again by casting our chosen material: polyester chocolate, etc.
In milling, you start by making the positive mold first then pour the silicon to make the negative mold.
Material tests
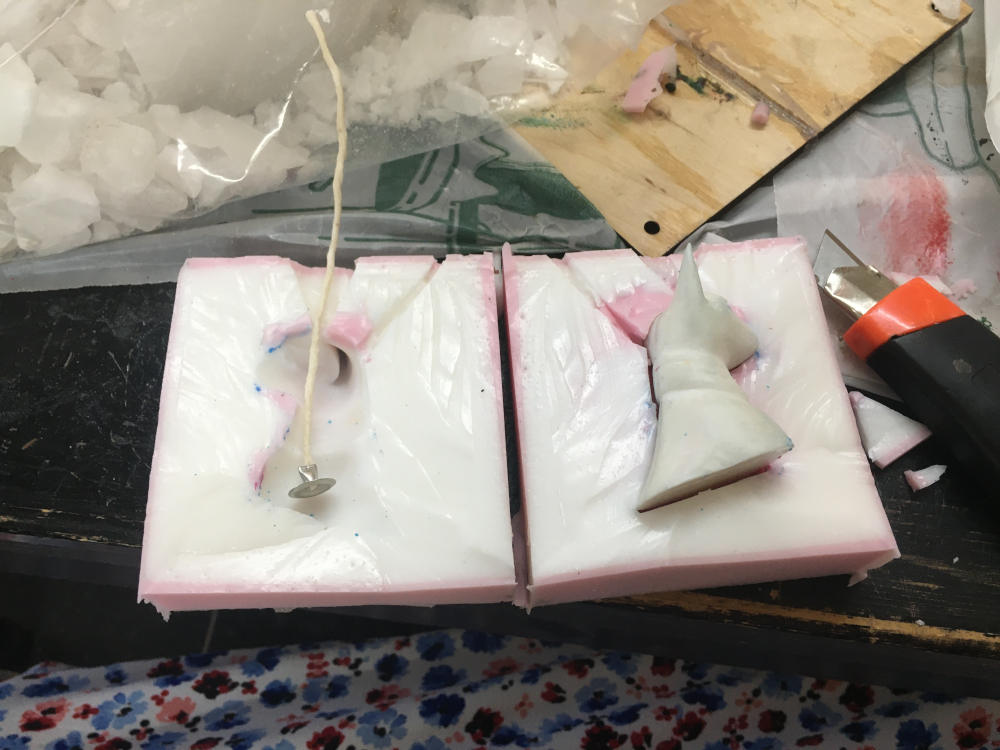
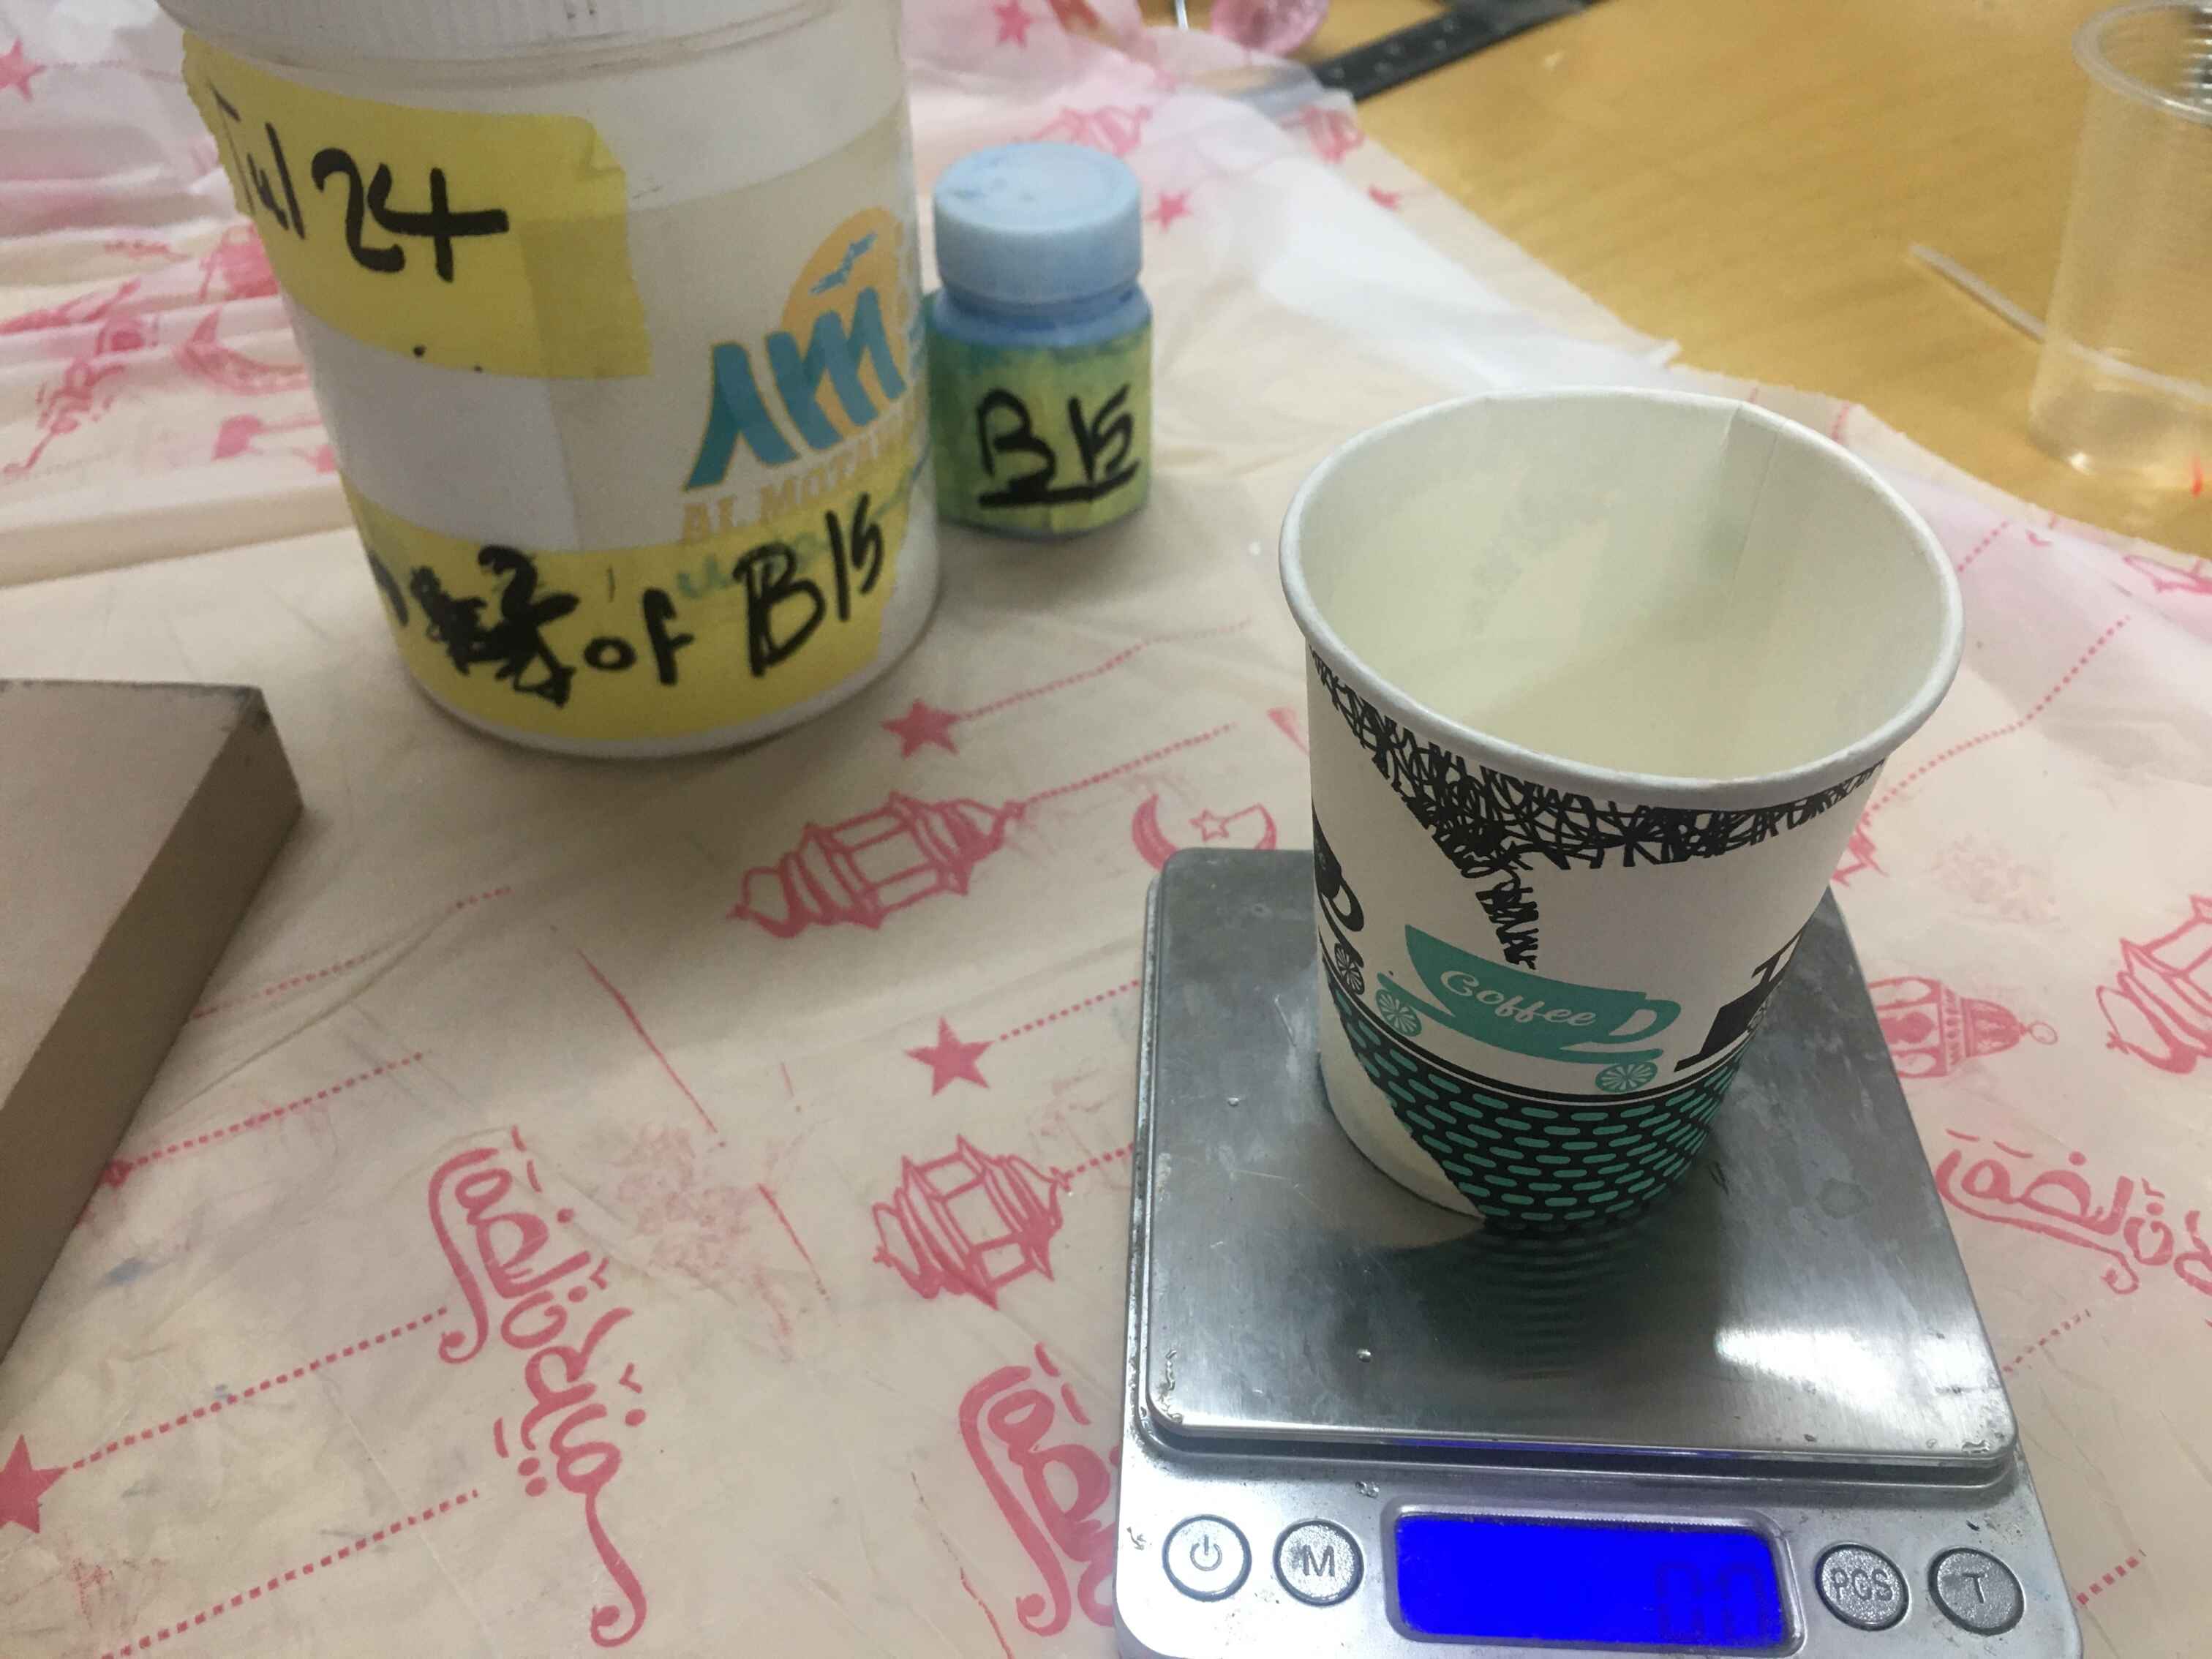
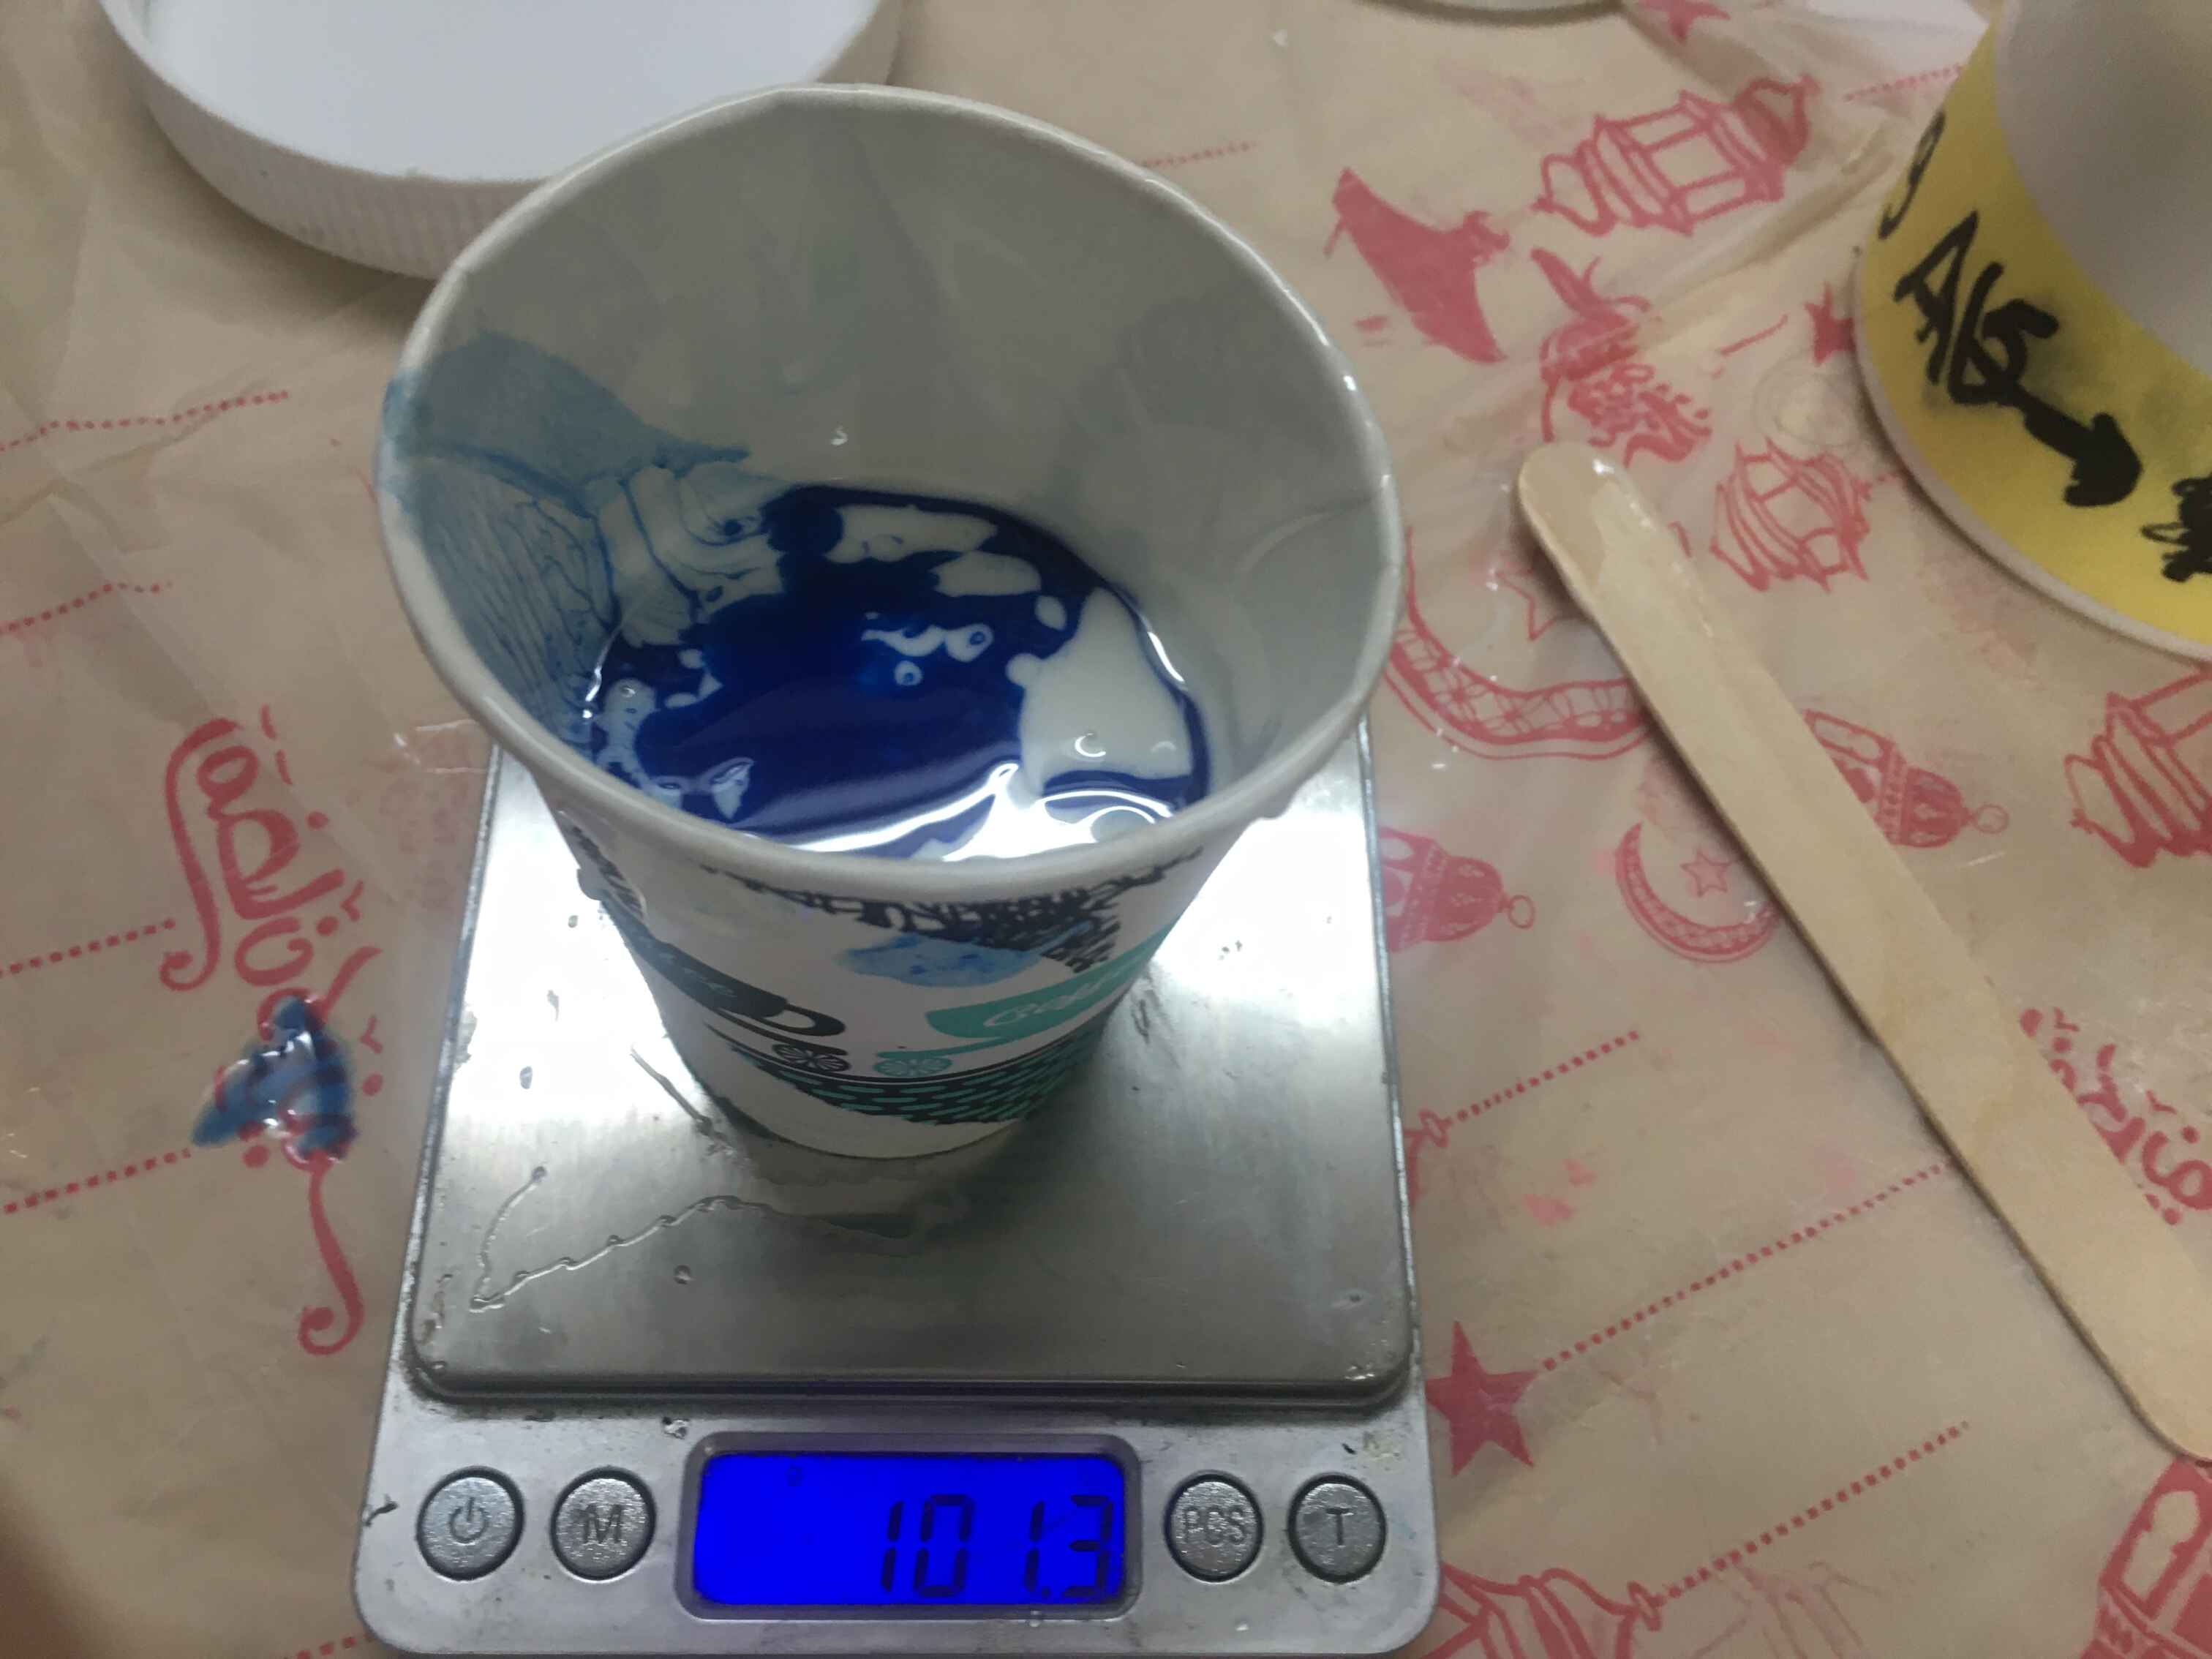
Then we went and tested different mold materials & cast materials. We tested different silicon to hardener ratio. My ratio was 30 grams of silicon with 1 grams of hardner which made the silicon not fluid enough and It was a pain to stir.
Amr & Doaa tried different ratios and we came to the conclusion that for each 100 g of silicon we use 1g of hardener. Also we casted some candle and here are the final results.
Mold Design
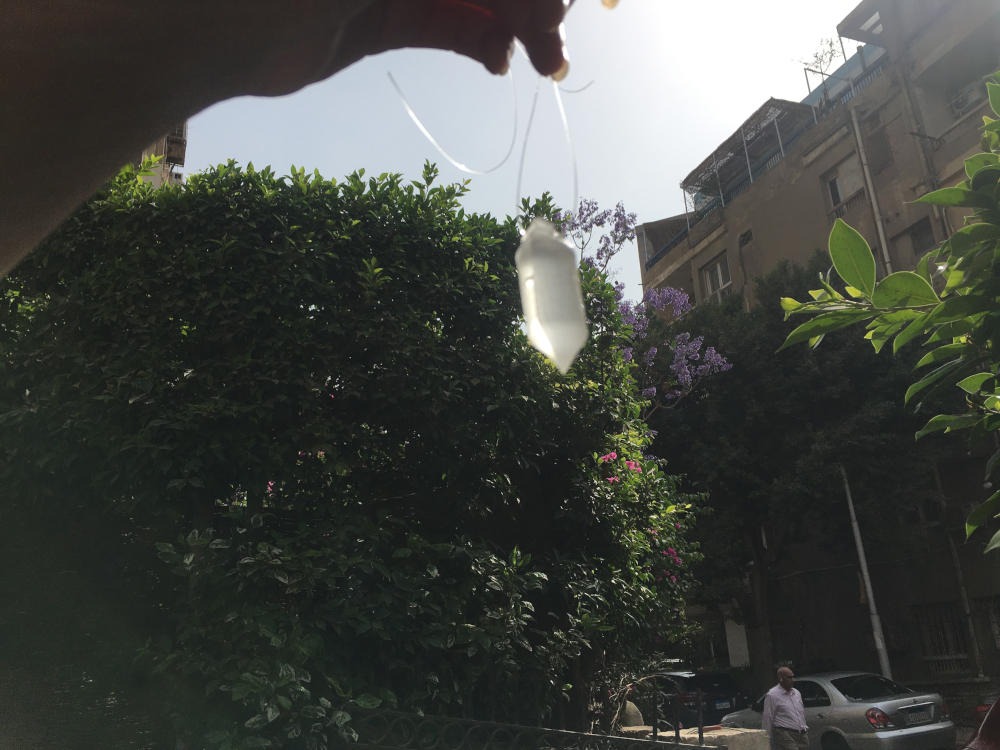
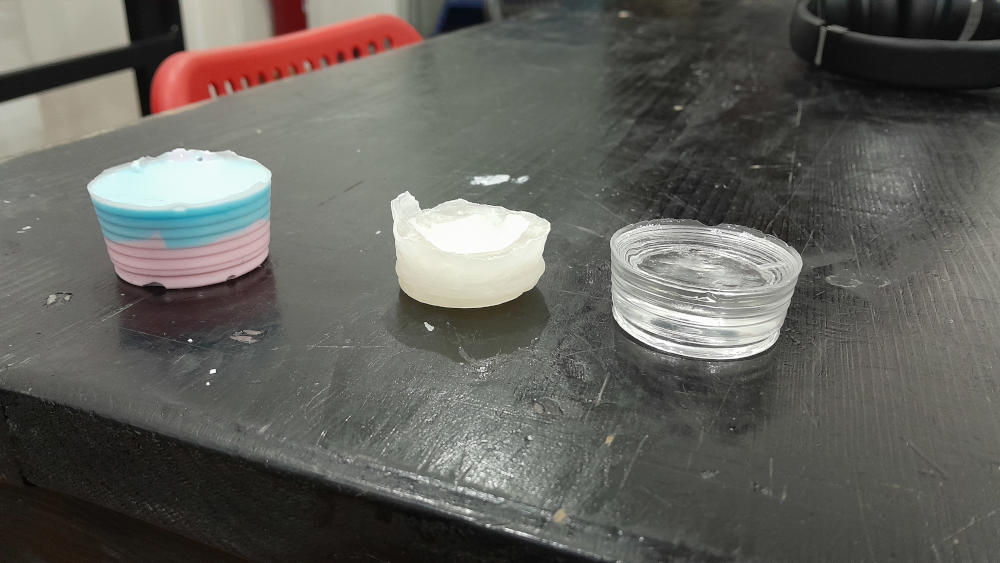
In Maker Faire Cairo, beside working at Fab Lab Egypt's booth I attended a suncatcher-making workshop that used recycled materials. I enjoyed so much. My idea is to design a crystal shape then cast transparent polyester.
.jpg)
Design Process
As I described in my group assignment section, I'll use milling so I need to design the positive mold then pour silicon which makes the negative mold and then cast my polyester.
Before designing I will introduce three important factors in mold design: vents, Pours and some registration pins
- Vents: these are channels that serve as a way for bubbles to escape these resides beside the pour and designed at a specific angle for easier escape.these are designed as solid extruded parts like the pours.
- Pour: this is the opening in that will be used to pour the casting material. We design it not as a hollow channel but as a solid extruded bodies
- registration pins: these are pins that serve as a way to align the design together. Since I'm making a two-side mold I will need to make both negative and positive ones.
- I started by creating a sketch of the crystal that'll then be revolved.
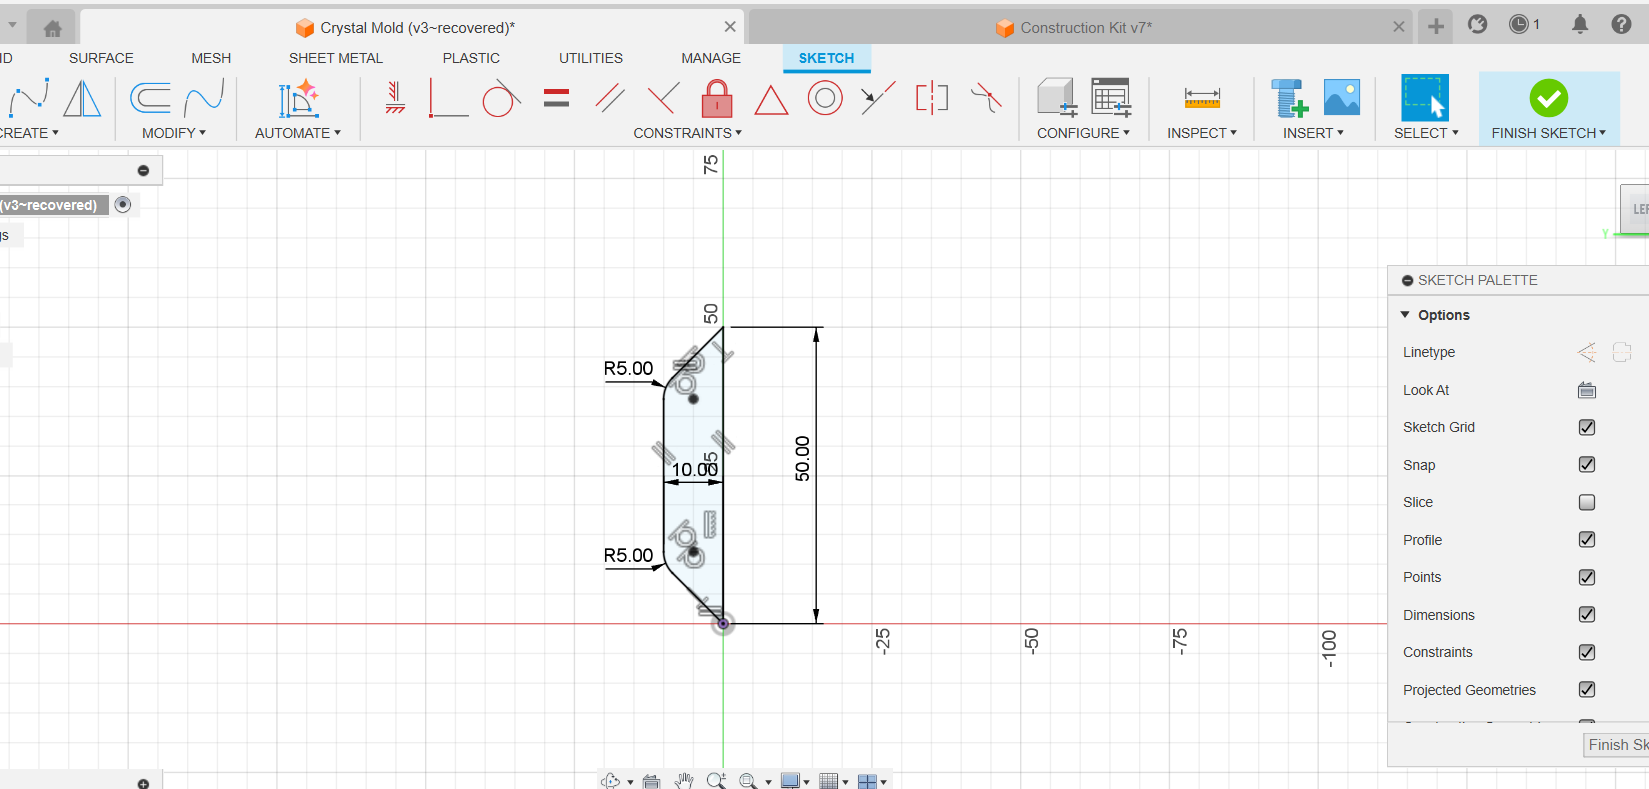
Sketch
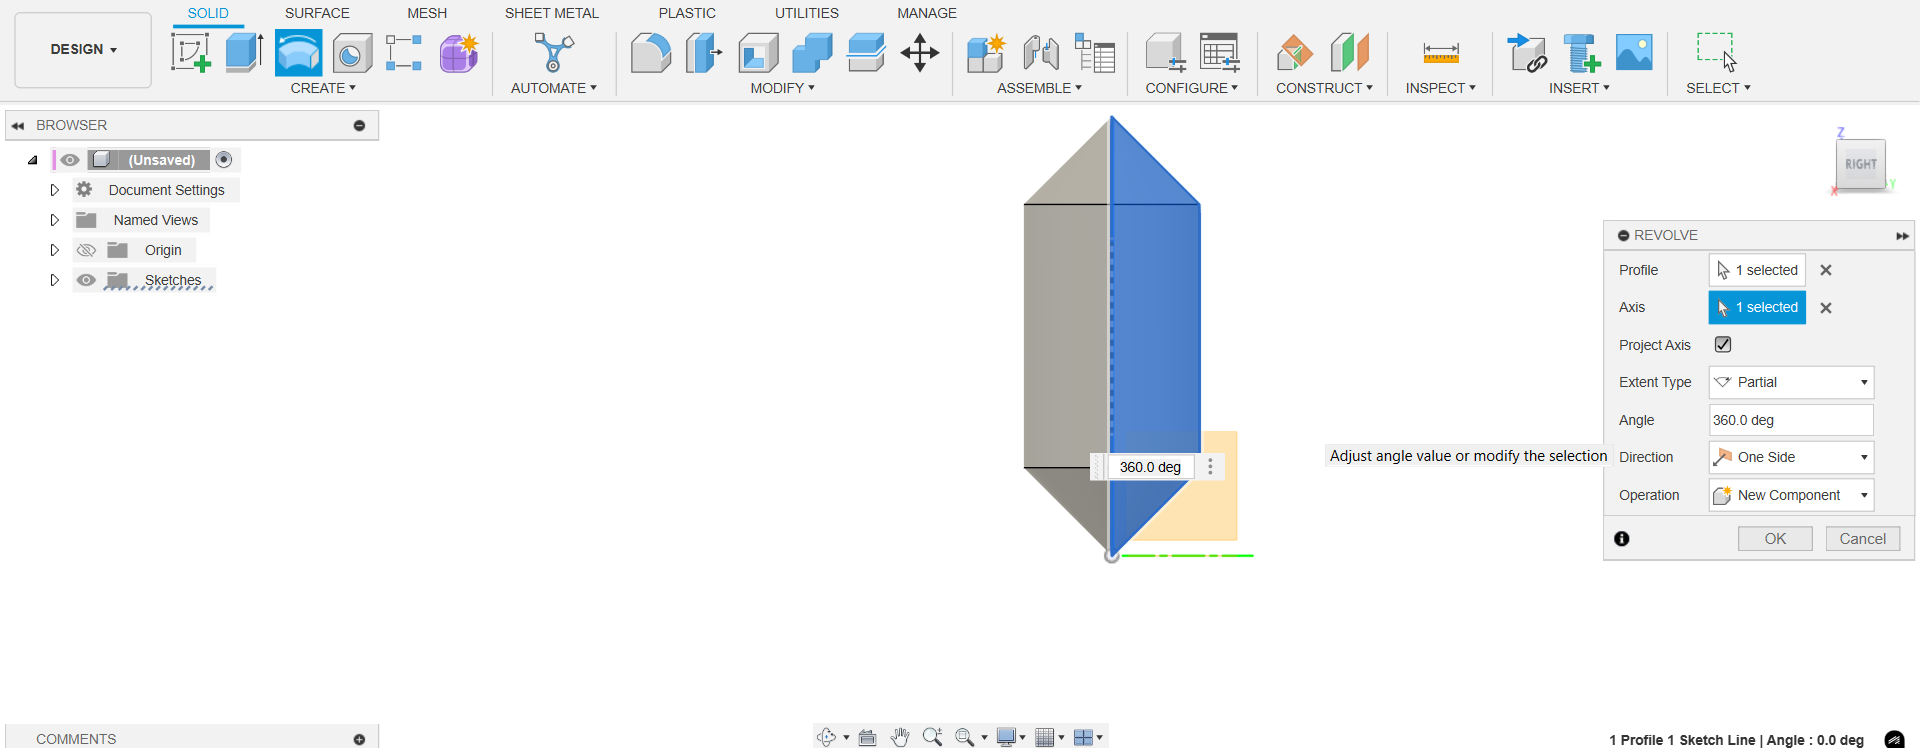
Revolve
- I split the body and placed them on the same level.
- I created an offset plane tangent to the top curve of the crystal, Then created a sketch, projected the crystals and designed the keys with 5 mm diameter & vents.
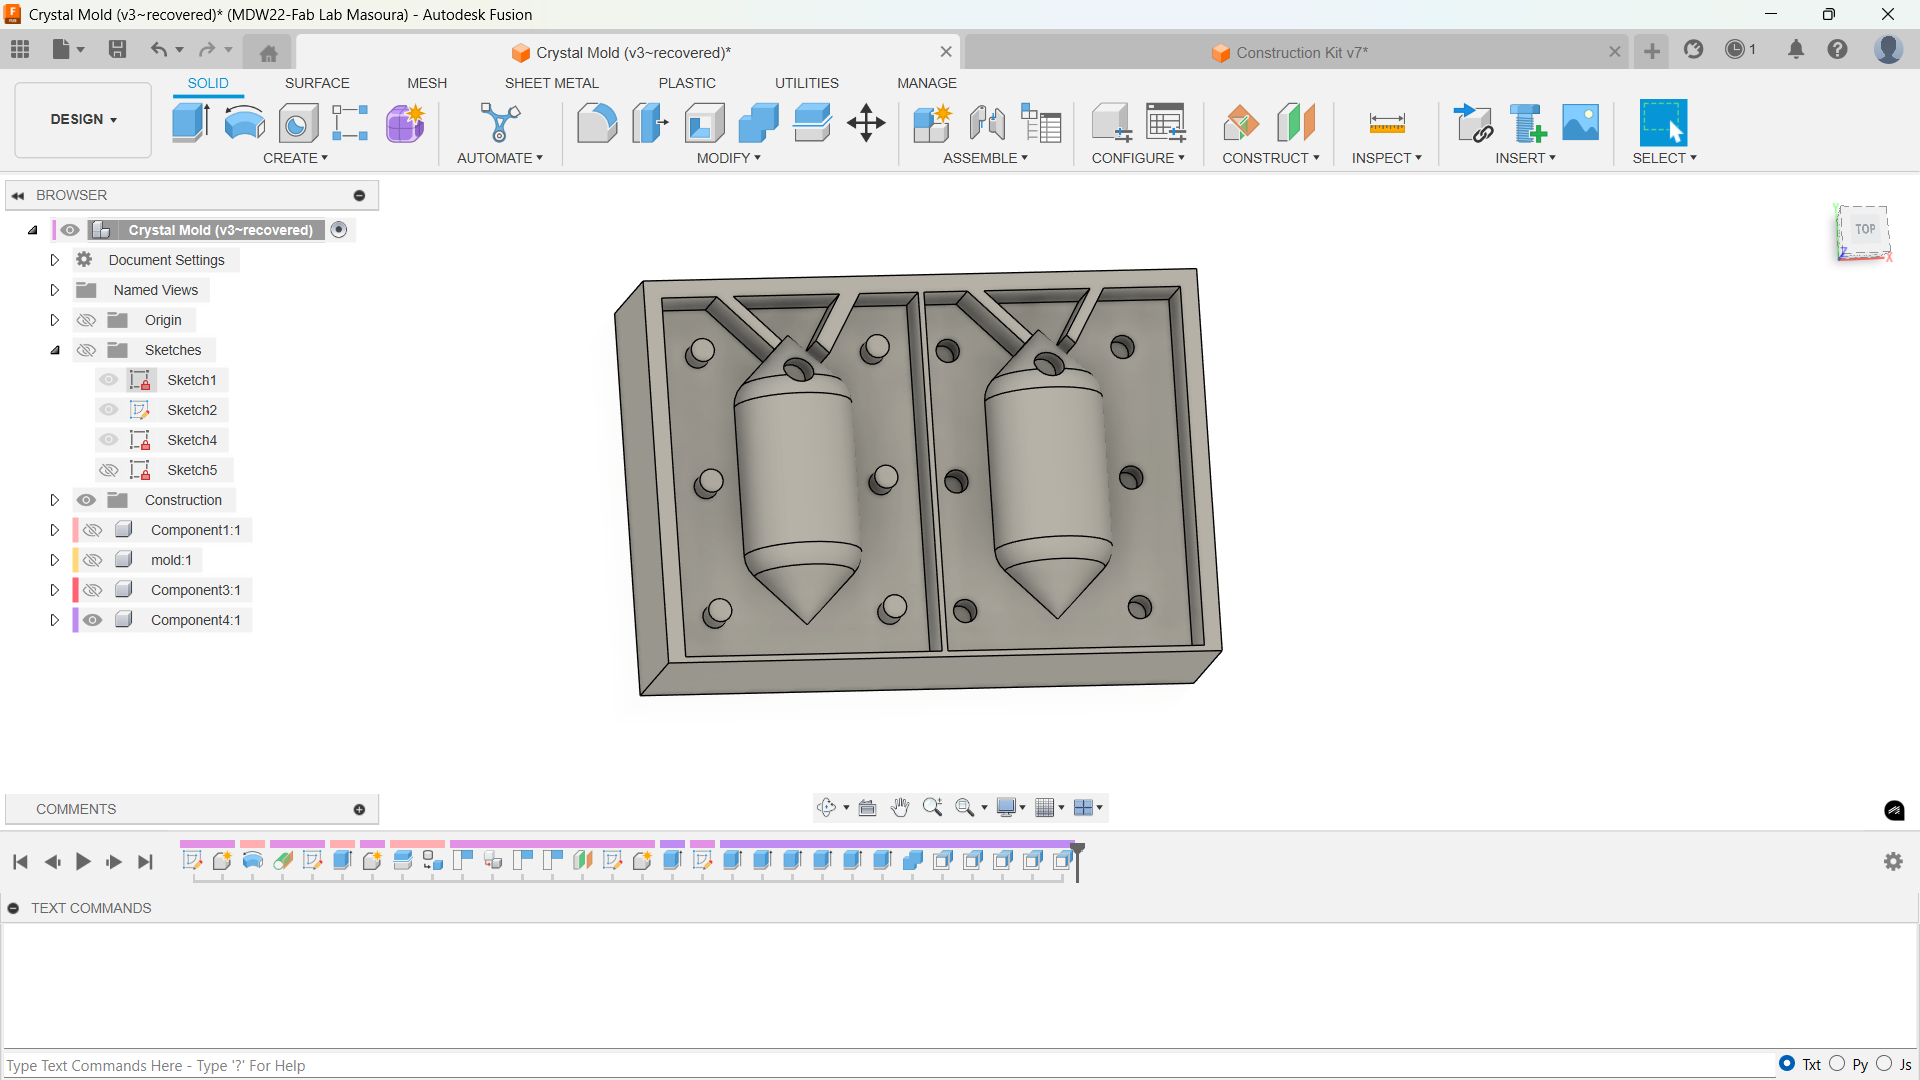
- Then Finally I extruded and combined the two pieces with the mold.

Splitting
keep in mind two things. The 1st thing is I'll be using a 3mm bit so the space between the keys & walls should be bigger by 3mm by at least 0.2mm. The 2nd thing: the vent shouldn't be vertical
I designed herecircular pins and two vents and a pour in the middle.

Milling
We used chemical wood since it's a very soft materiel easy to make molds from.
We used a different CAM tool called "MeshCAM". It's unfortunatlely paid software but it offers a free trial so I signed up for it and started playing. I followed the tutorials and Thanks to Amr we tried a feedrate of
Parameters
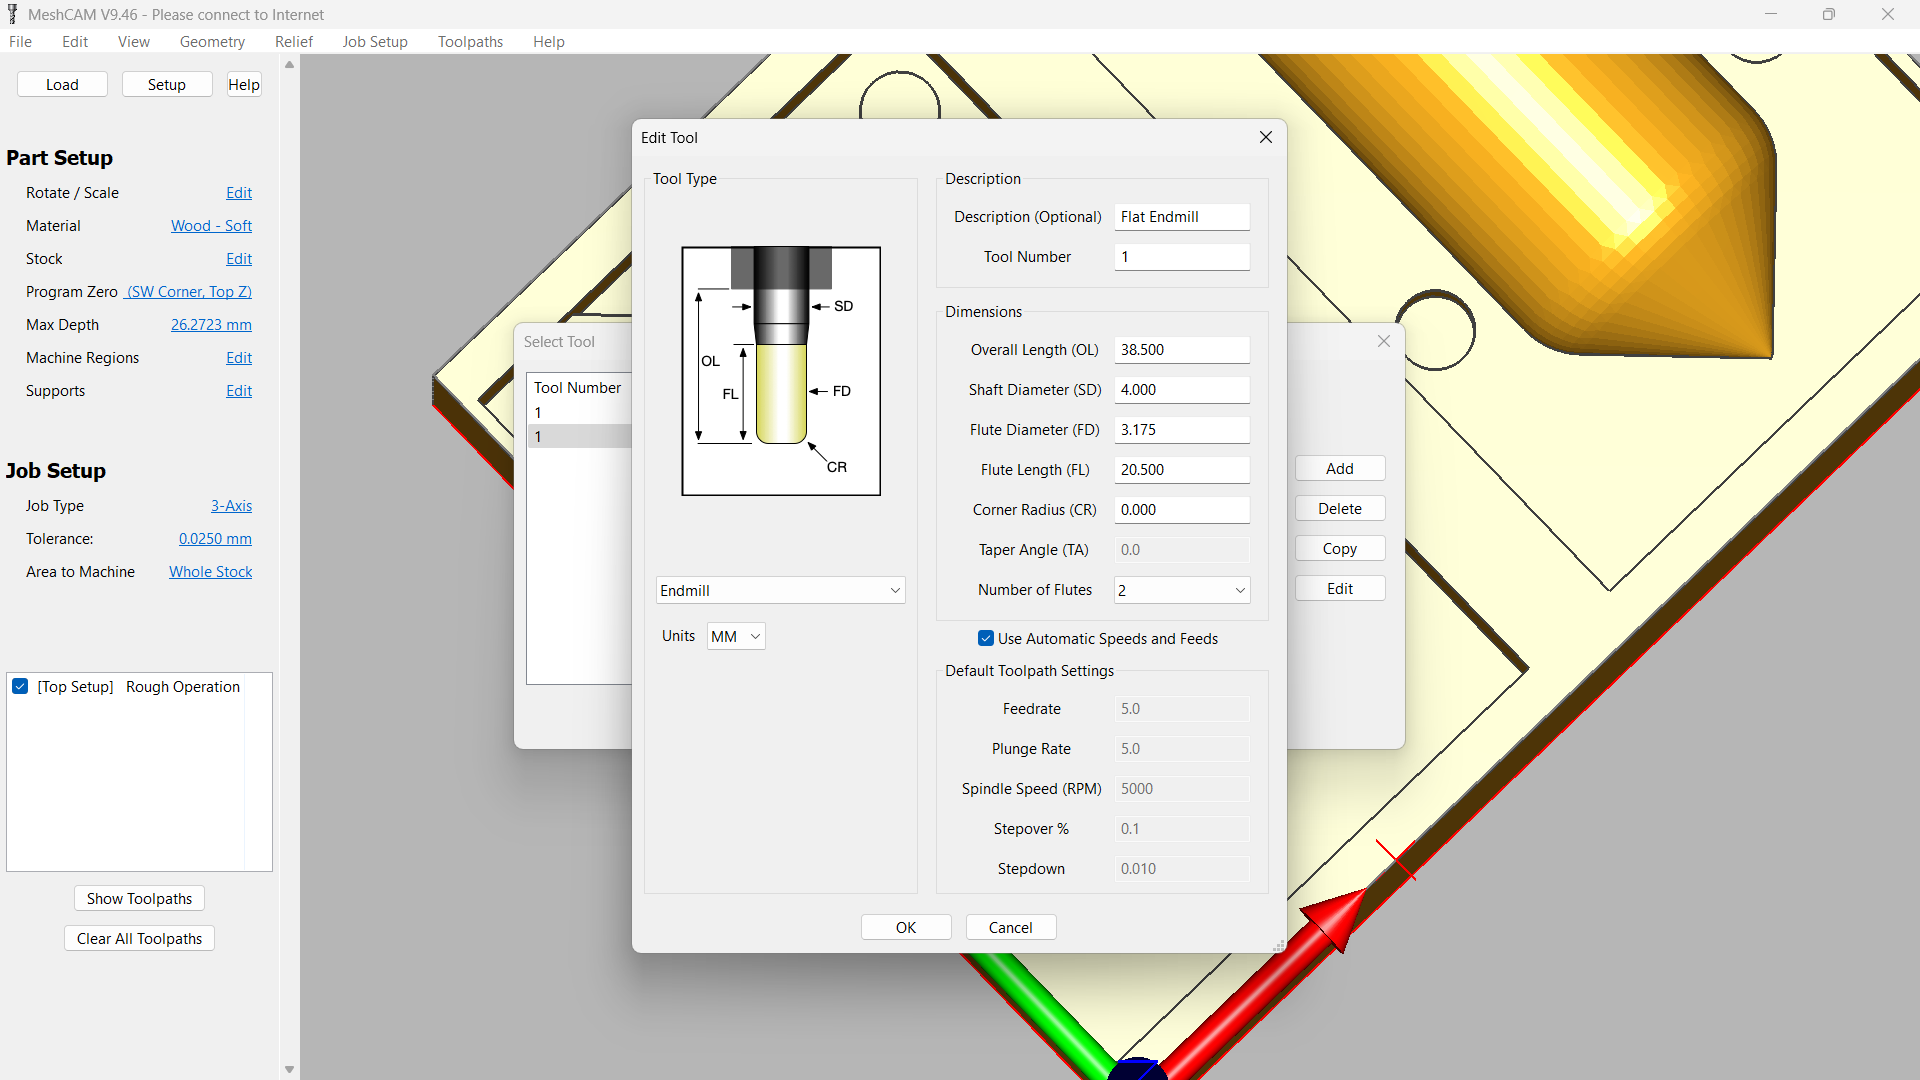
First we had to define some parameters like the tools. We're gonna use two endmills one straight for roughing and the ballnose for finishing.
- We add it from the "Job Setup" menu, These are the parameters for the flat endmill and added the same for ballnose.
We import the STL from "file" menu, then from the "toolpaths" menu we choose our operations.
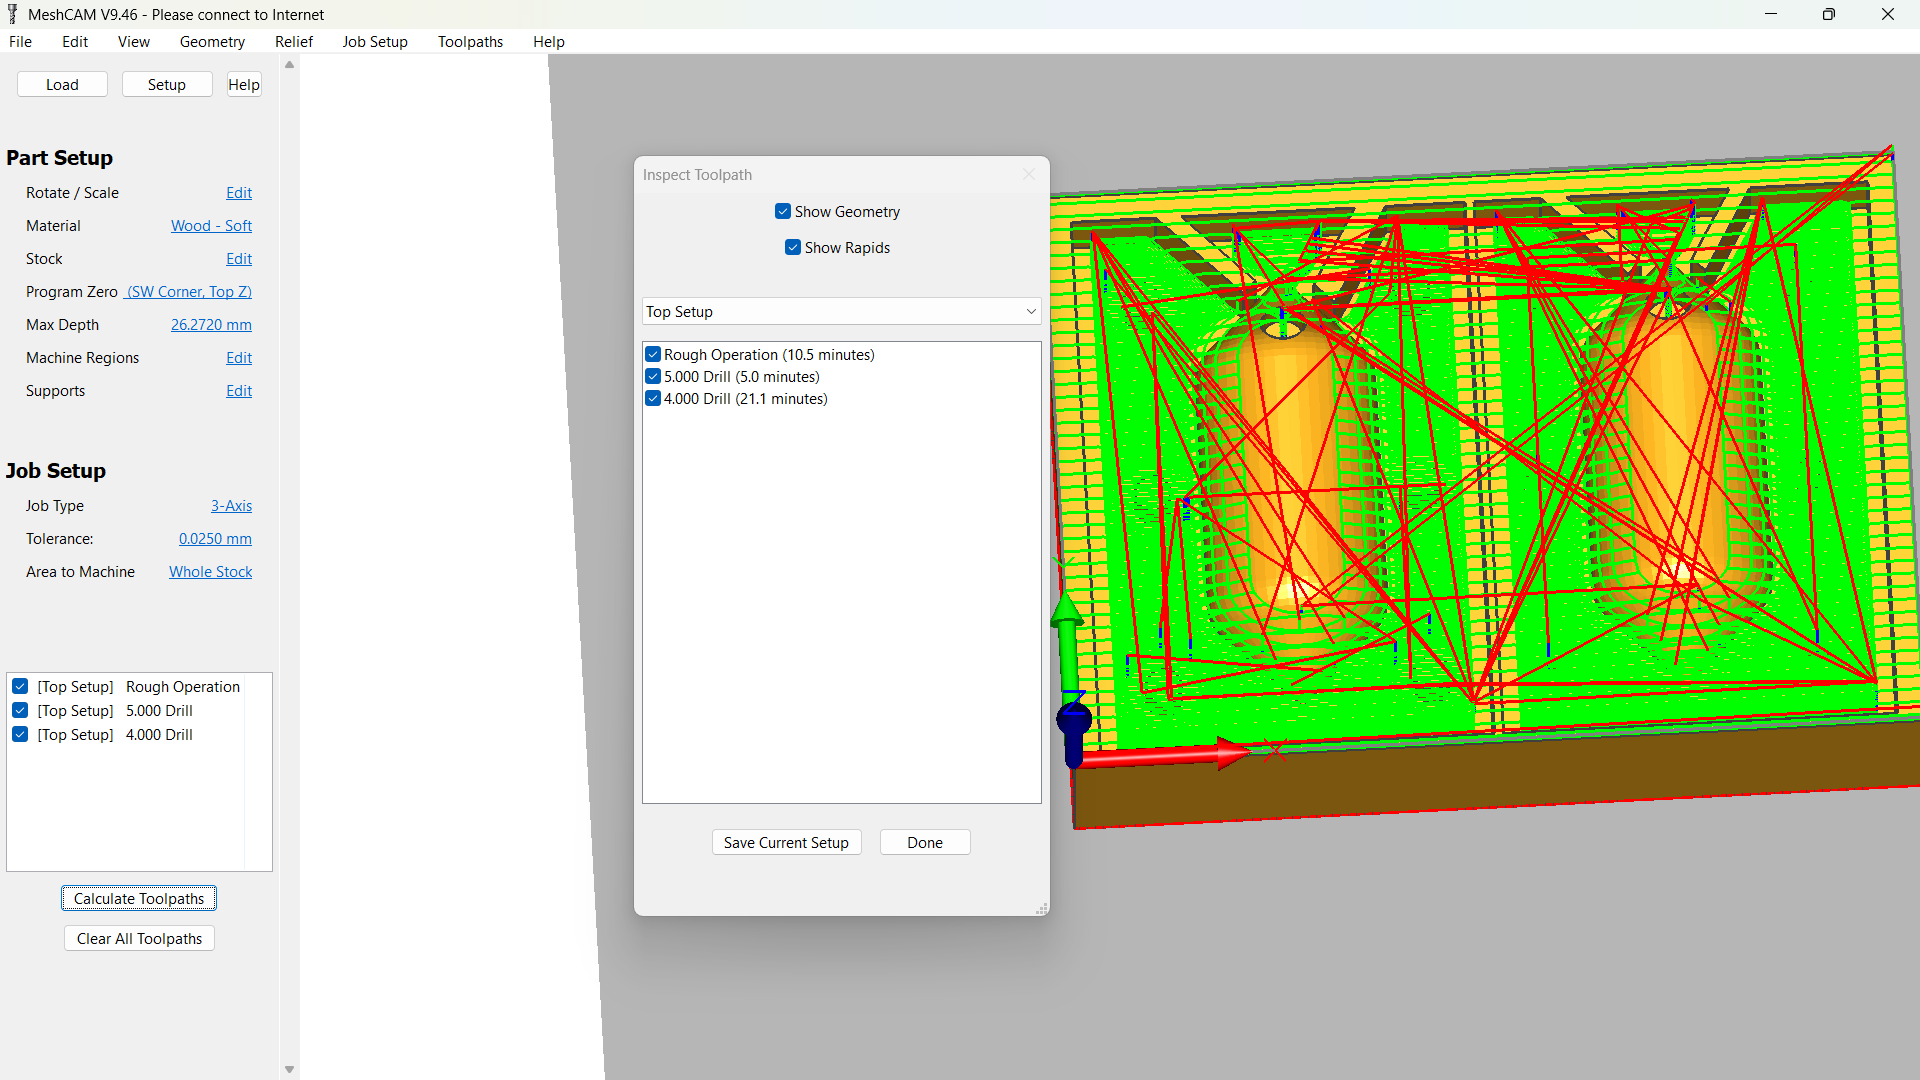
Roughing + Drills
These the parameters I used for roughing in my case I wanted the roughing to be parallel which appear cleaner after fabrication.

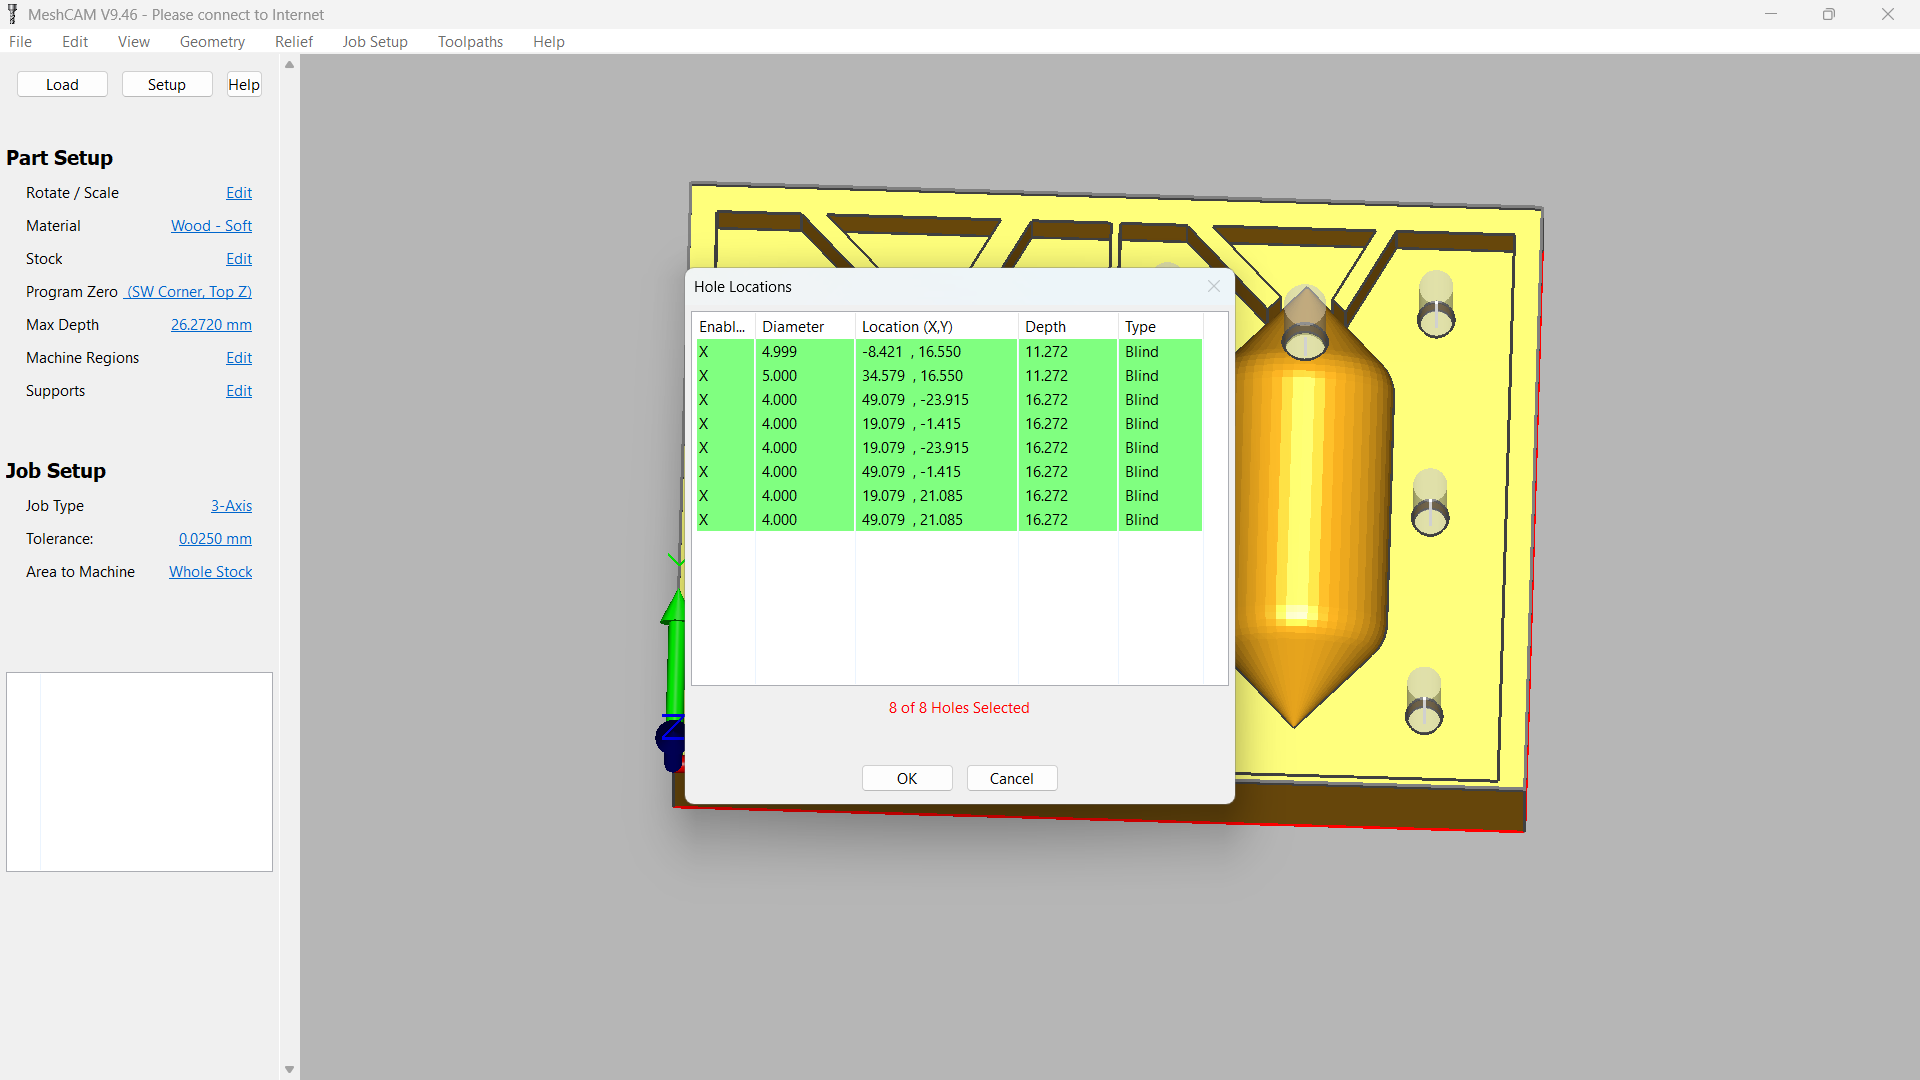
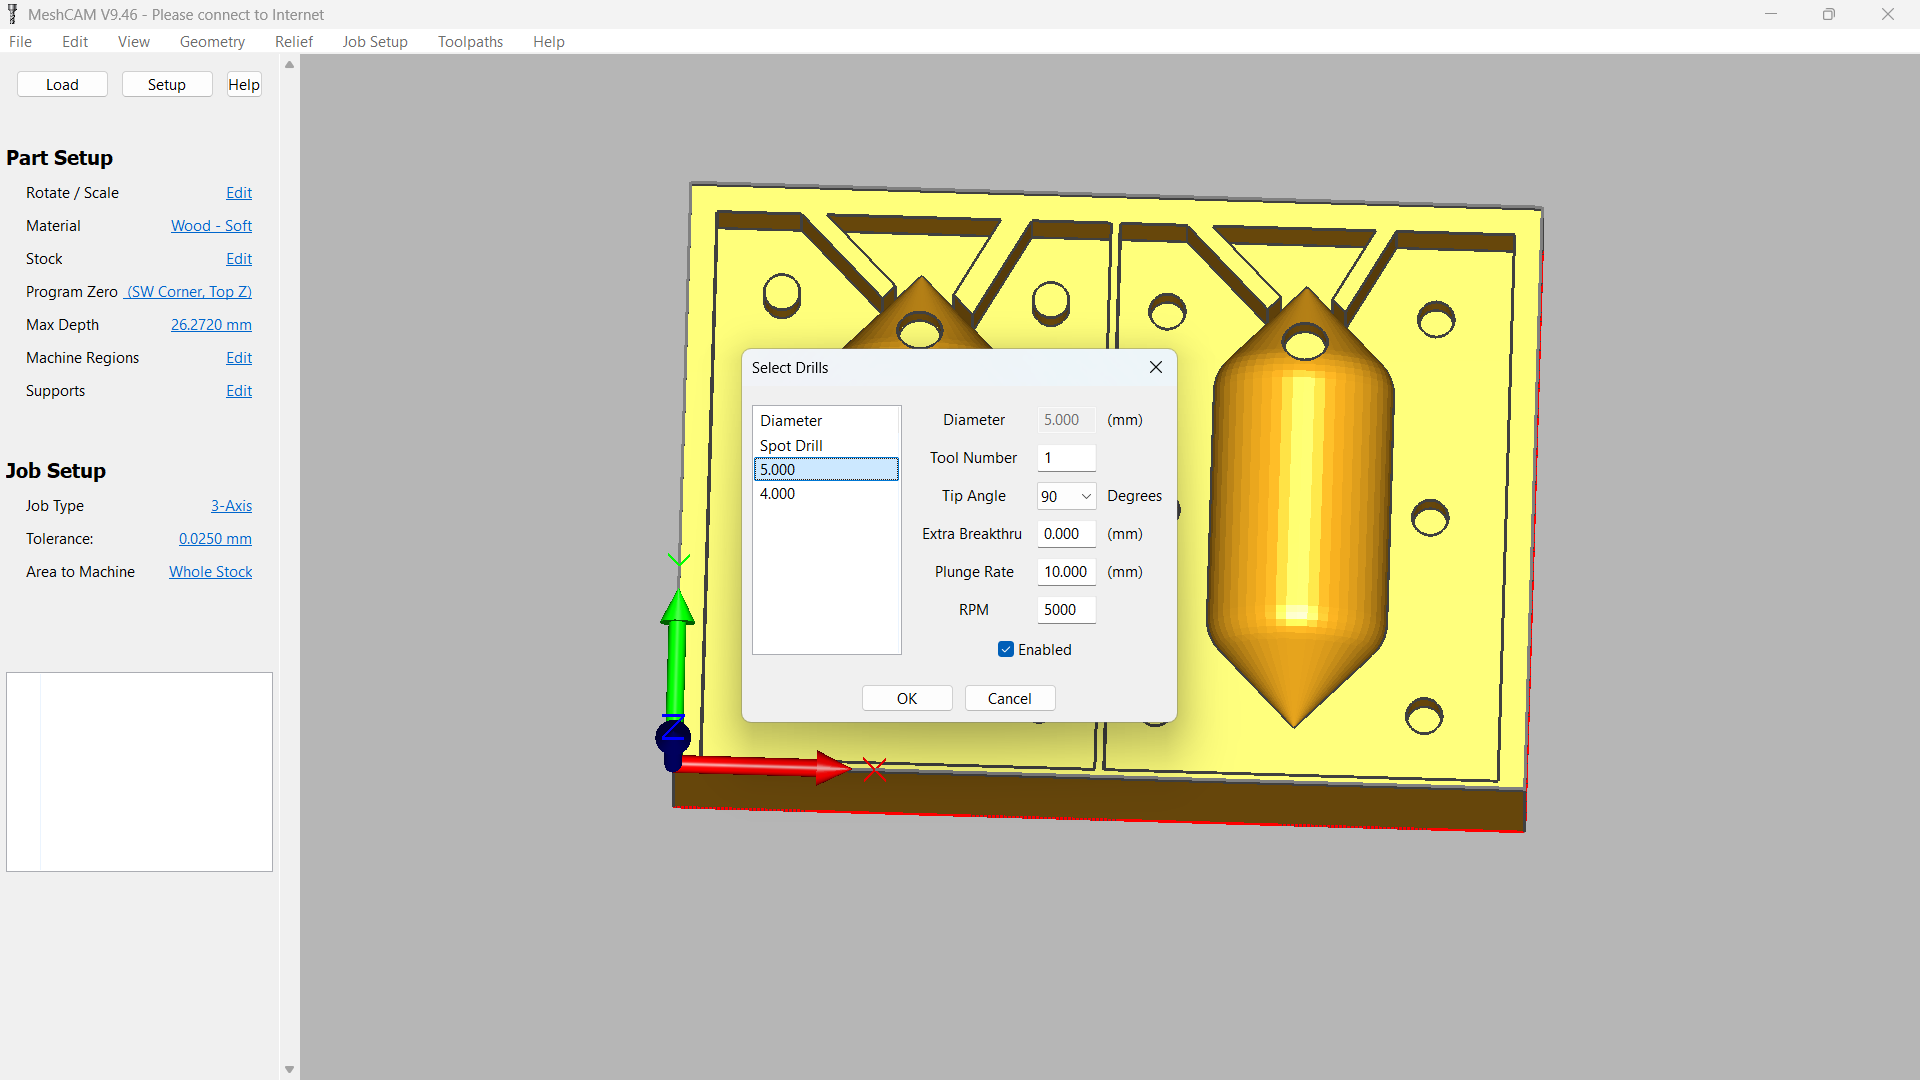
My drills didn't appear in the roughing operation so Amr suggested to make drills and they were detected automatically as shown here.Then I exported the toolpath from "Save Current Setup "
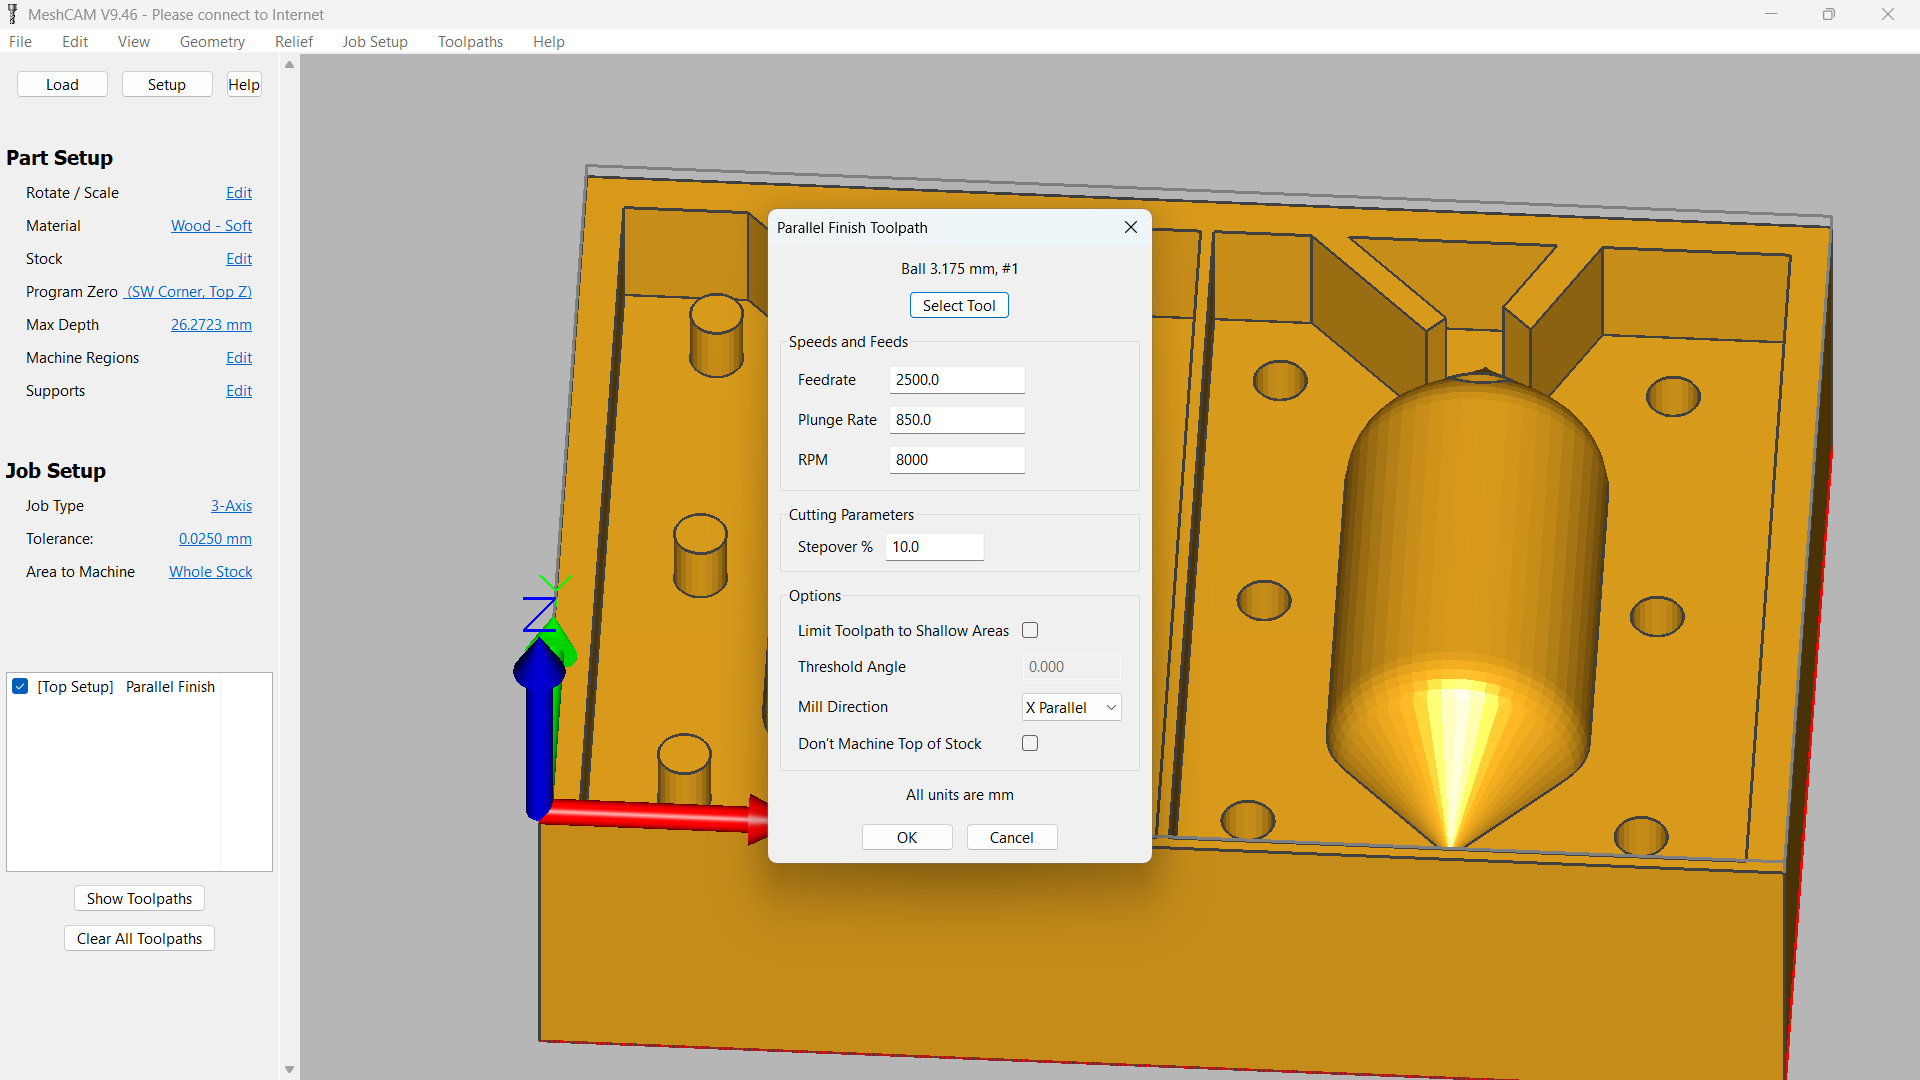
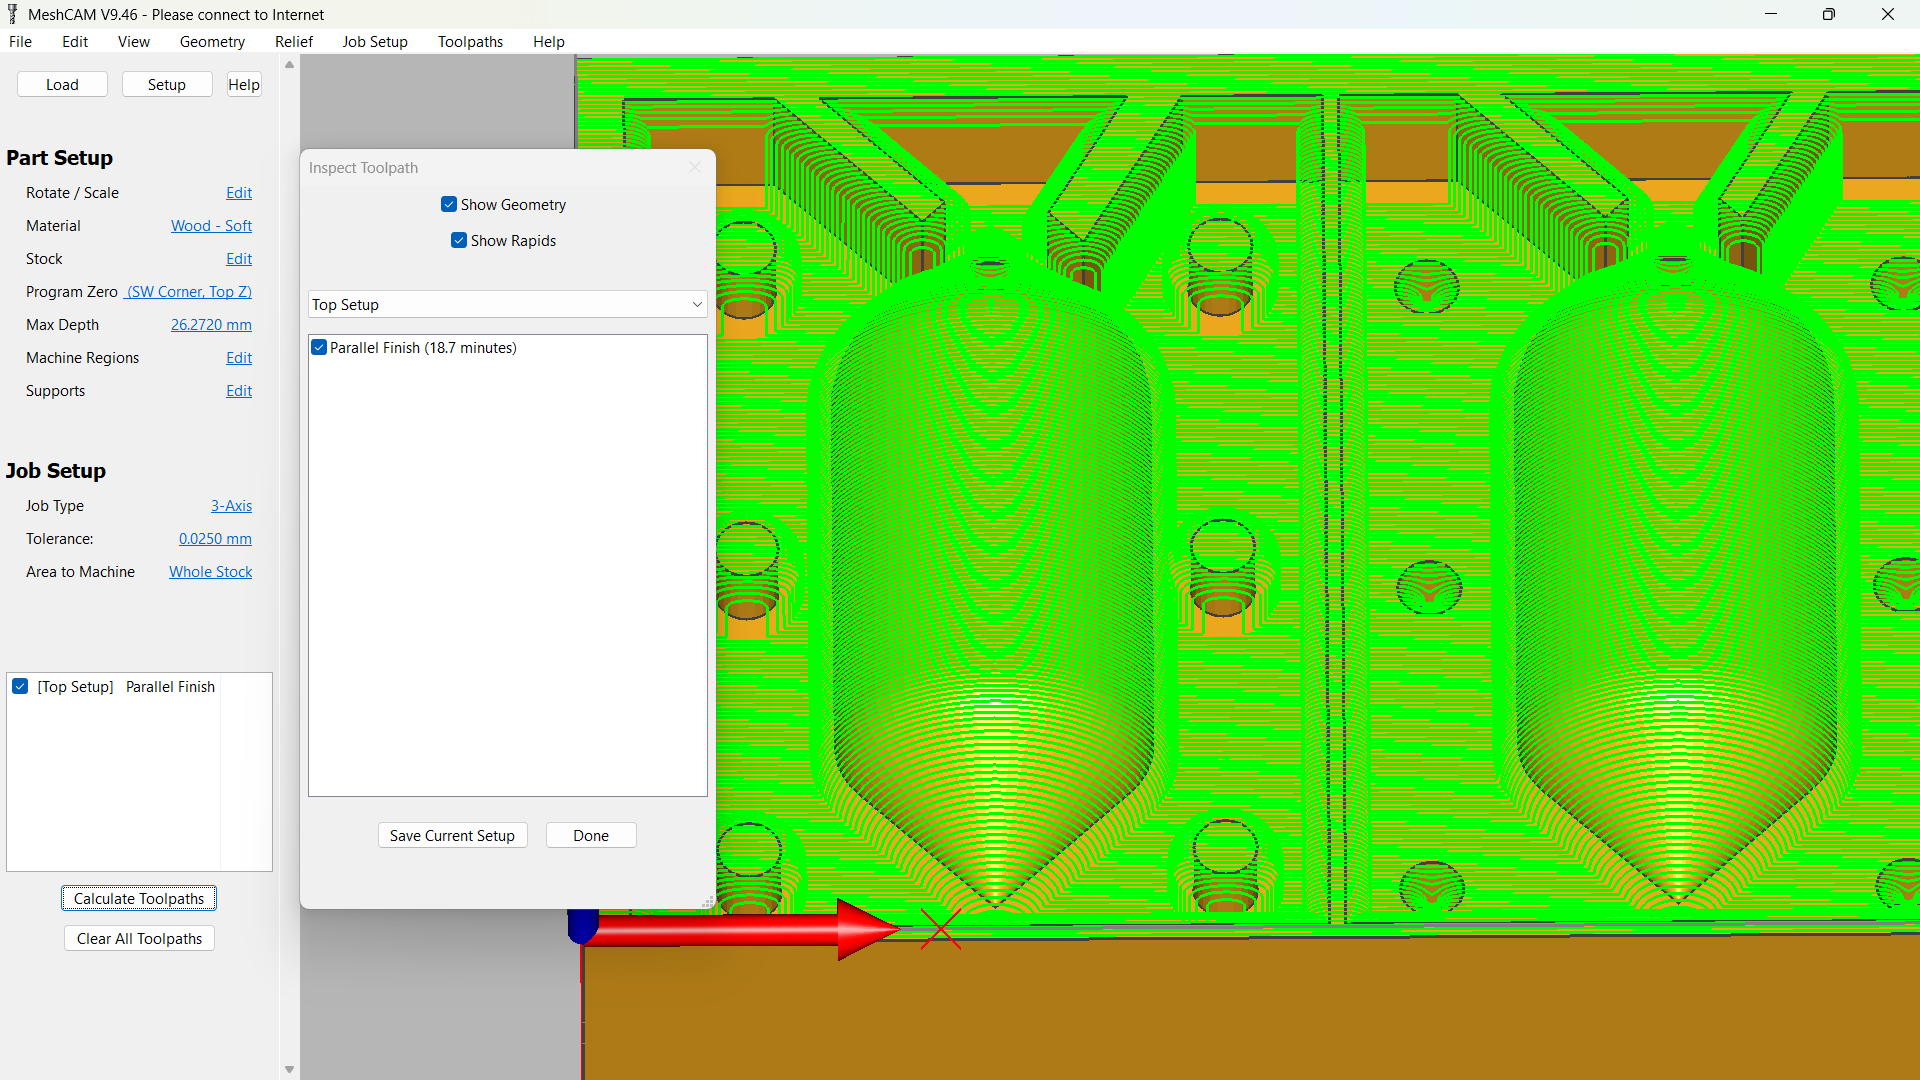
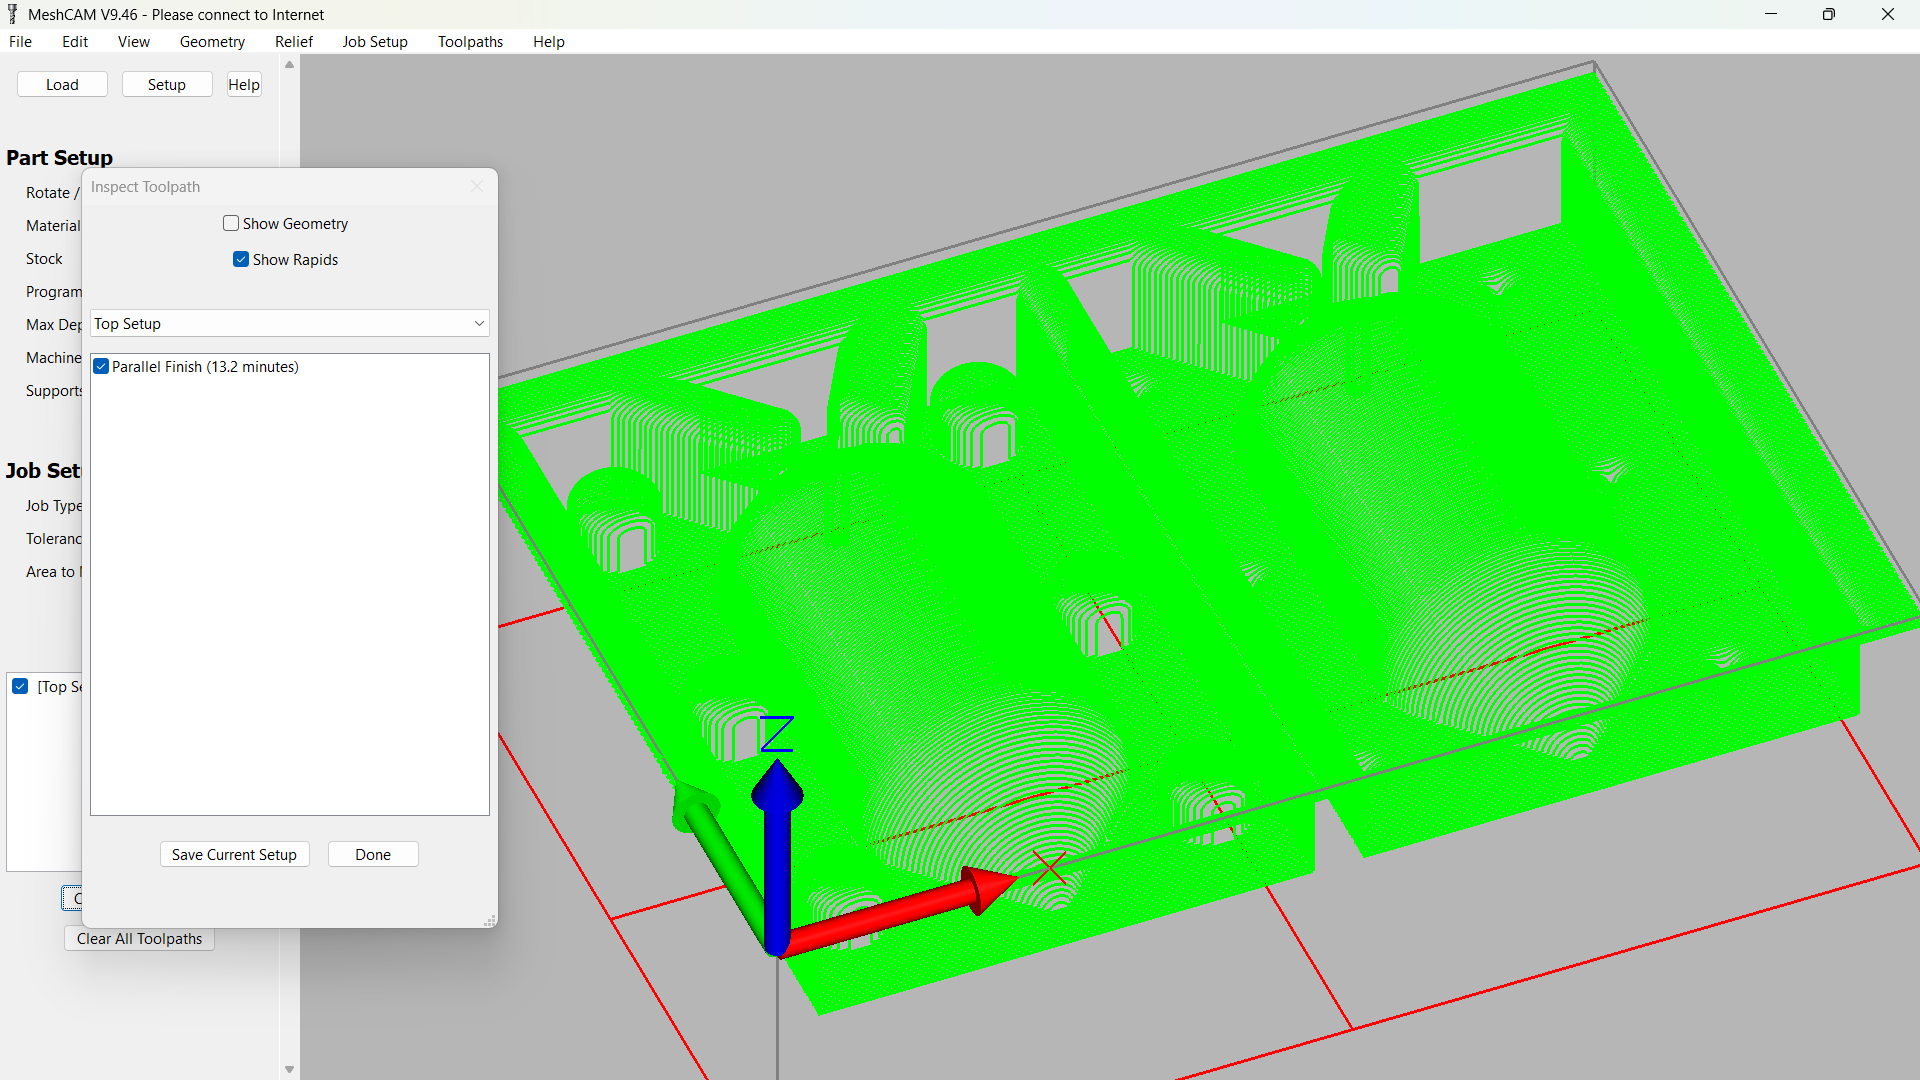
Finishing
I chose paraleel finishing operation and added these parameters.
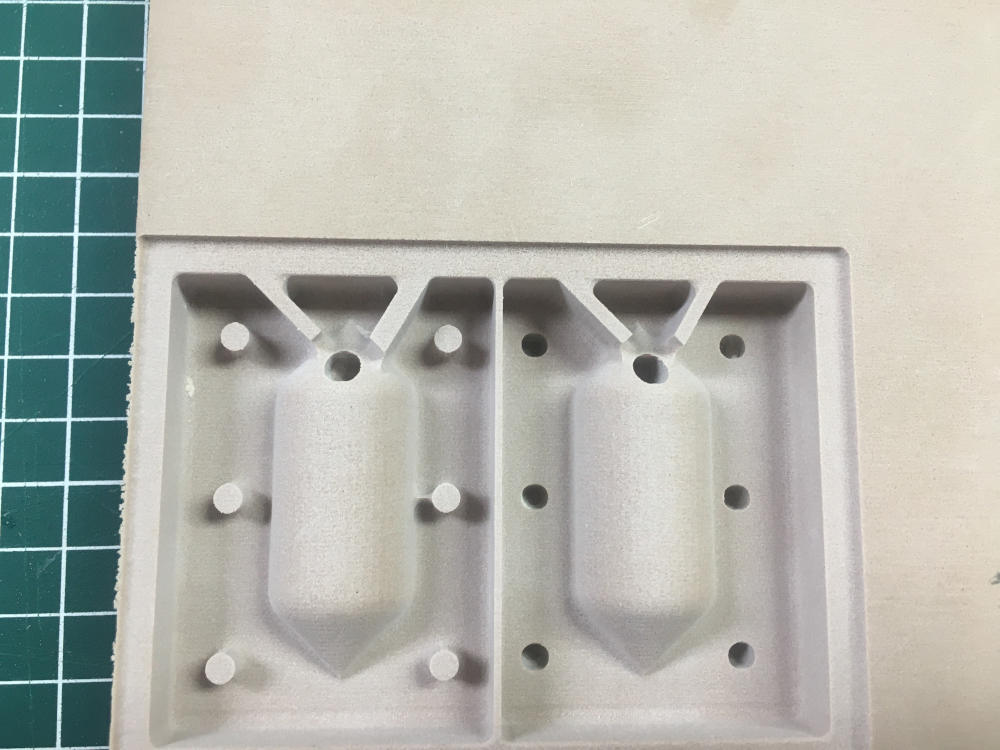
Fabrication
I went to our China router and operated it as shown in previous weeks using OpenBuilds Control.

Molding
Molding
Since we used chemical wood we didn't need to seal the pores before pouring the silicon but It's best if we use a release agent
I used this silicon which we used in our group assignment I used this spray as a release agent.
.jpg)
Here're ratios I used.

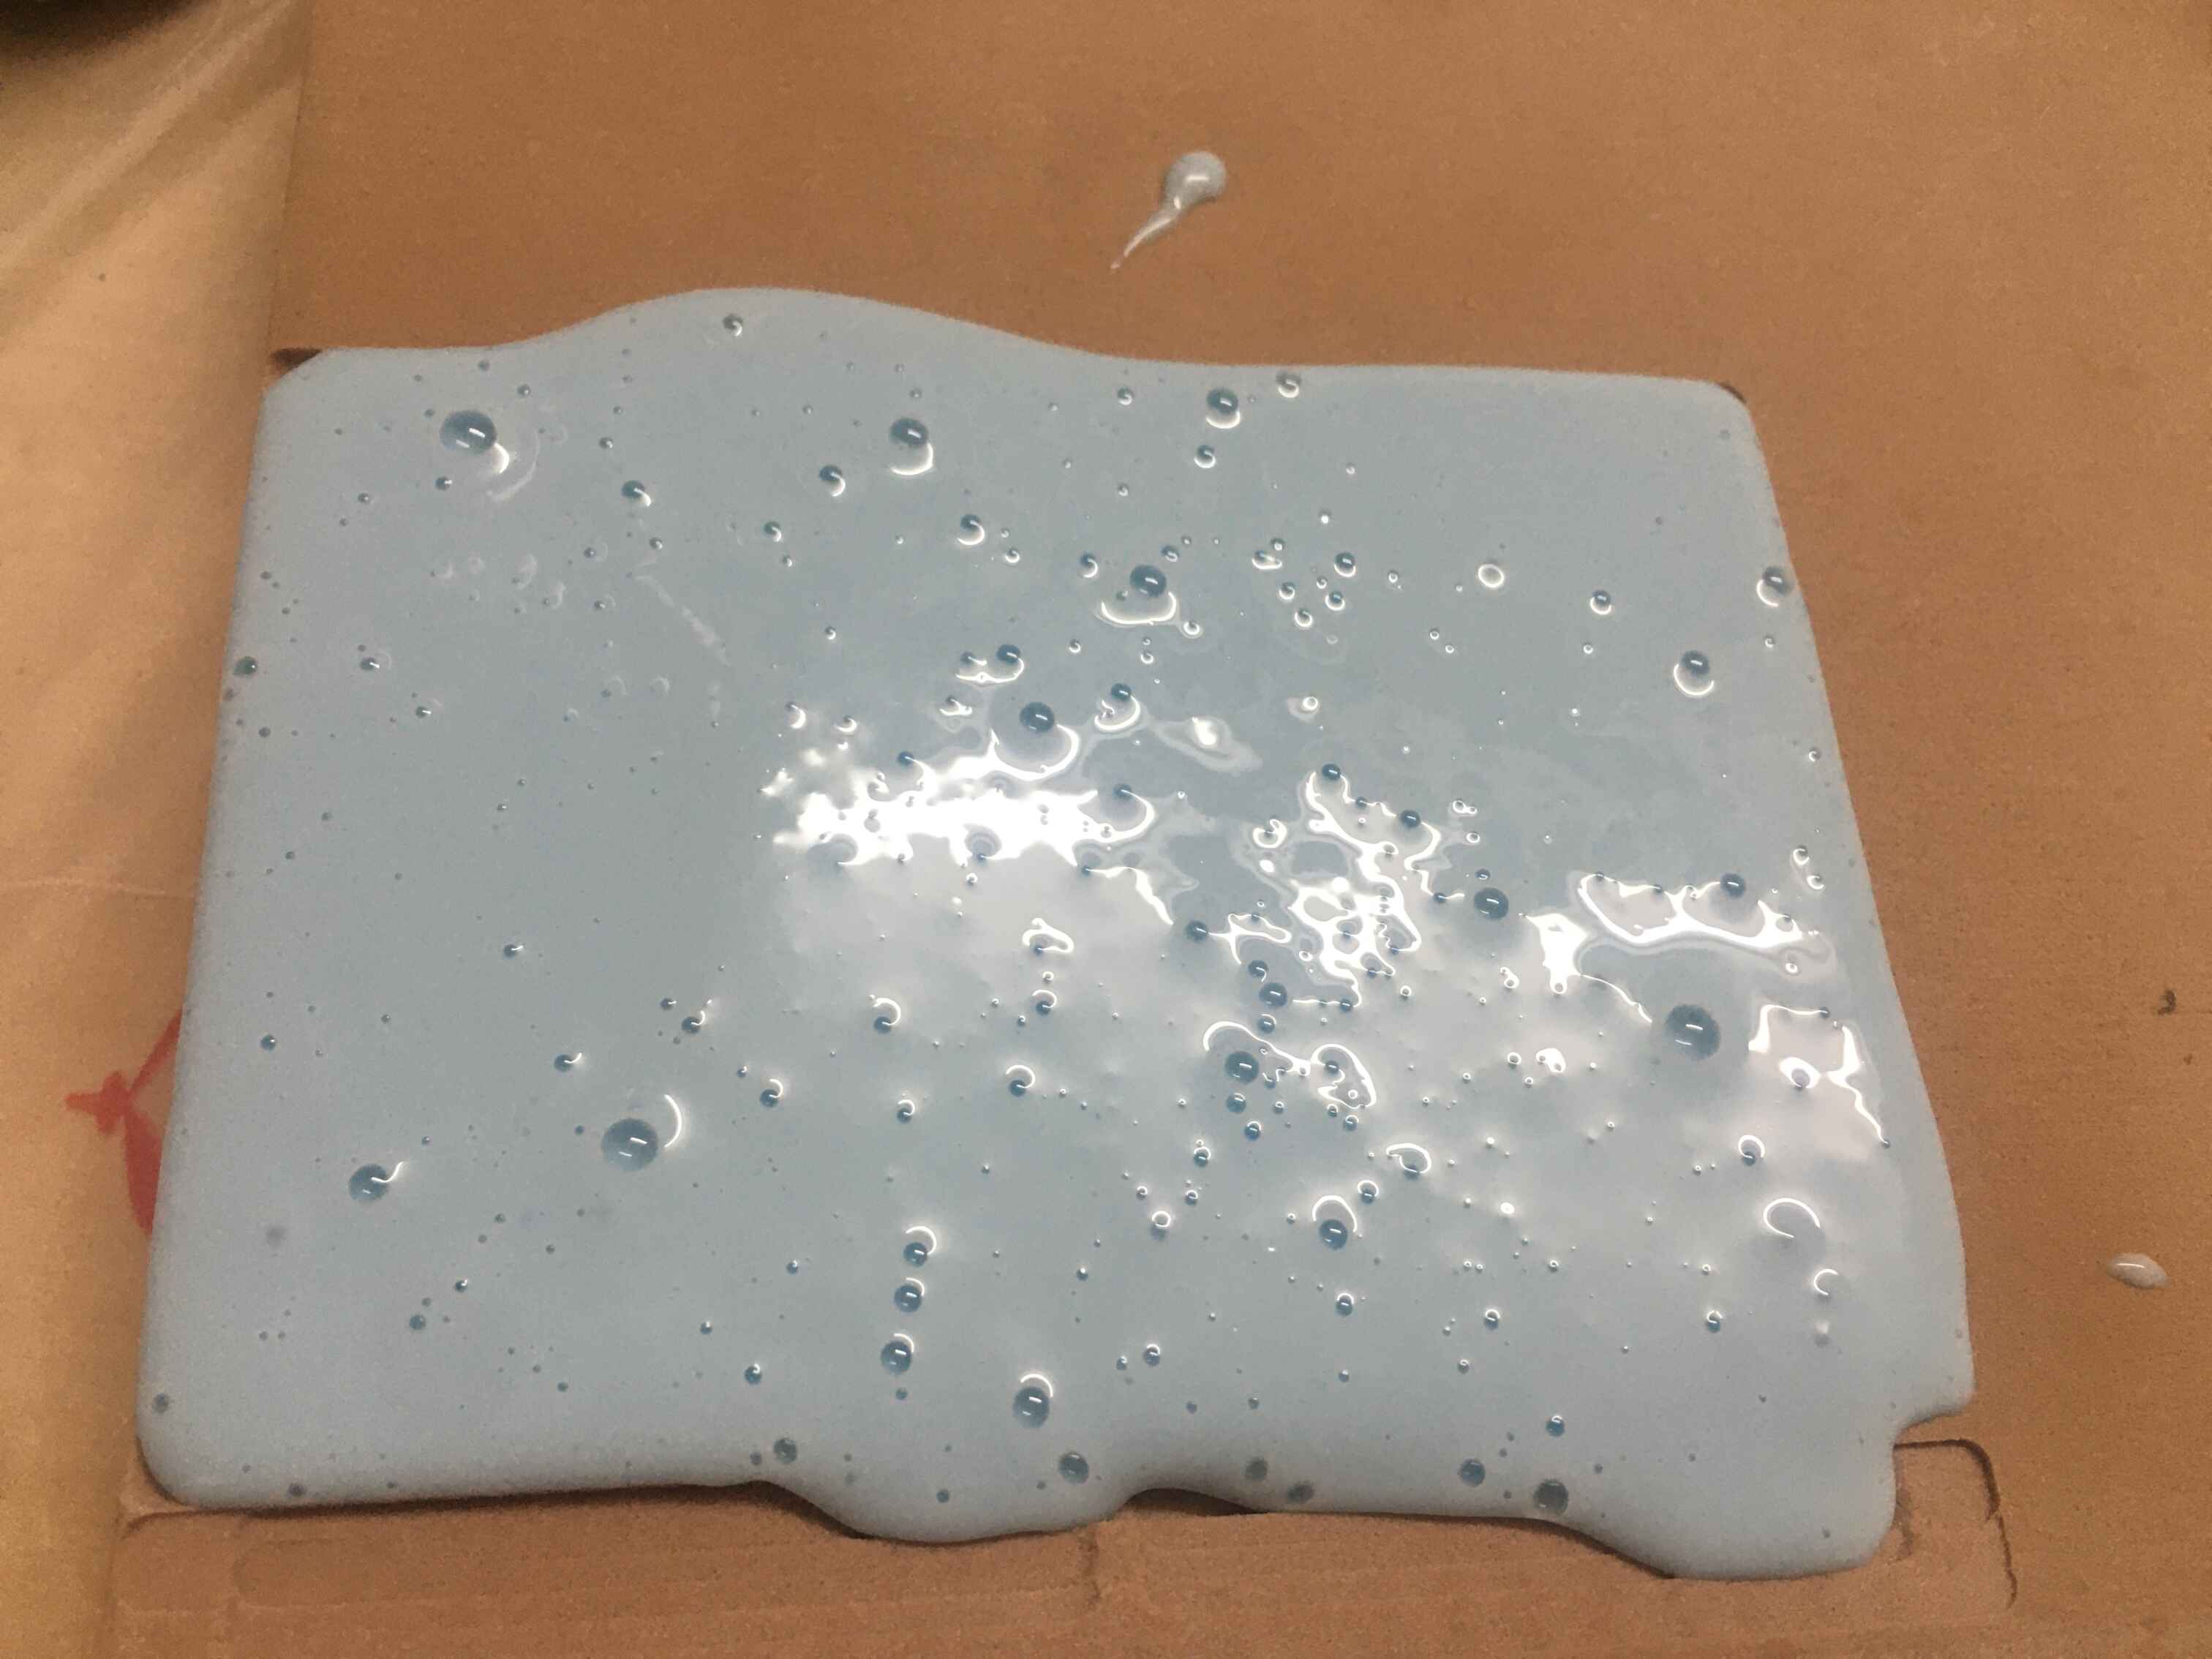
Then I poured the silicon and waited for 24 hours.At first there were a lot of bubbles so I shaked the mold a bit.
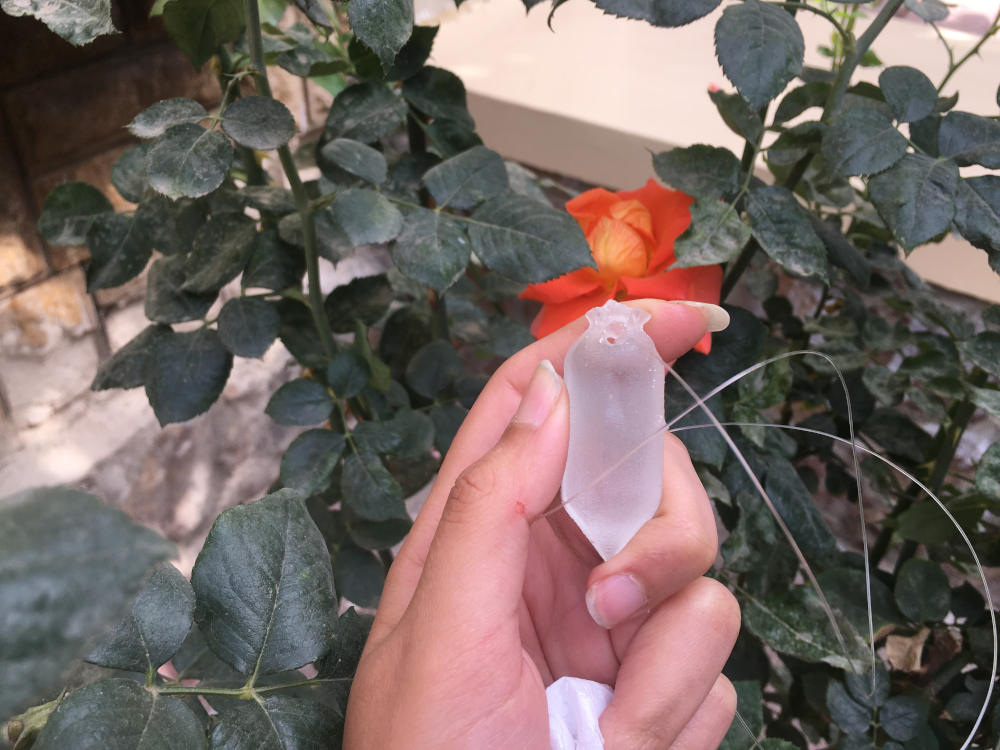
Casting
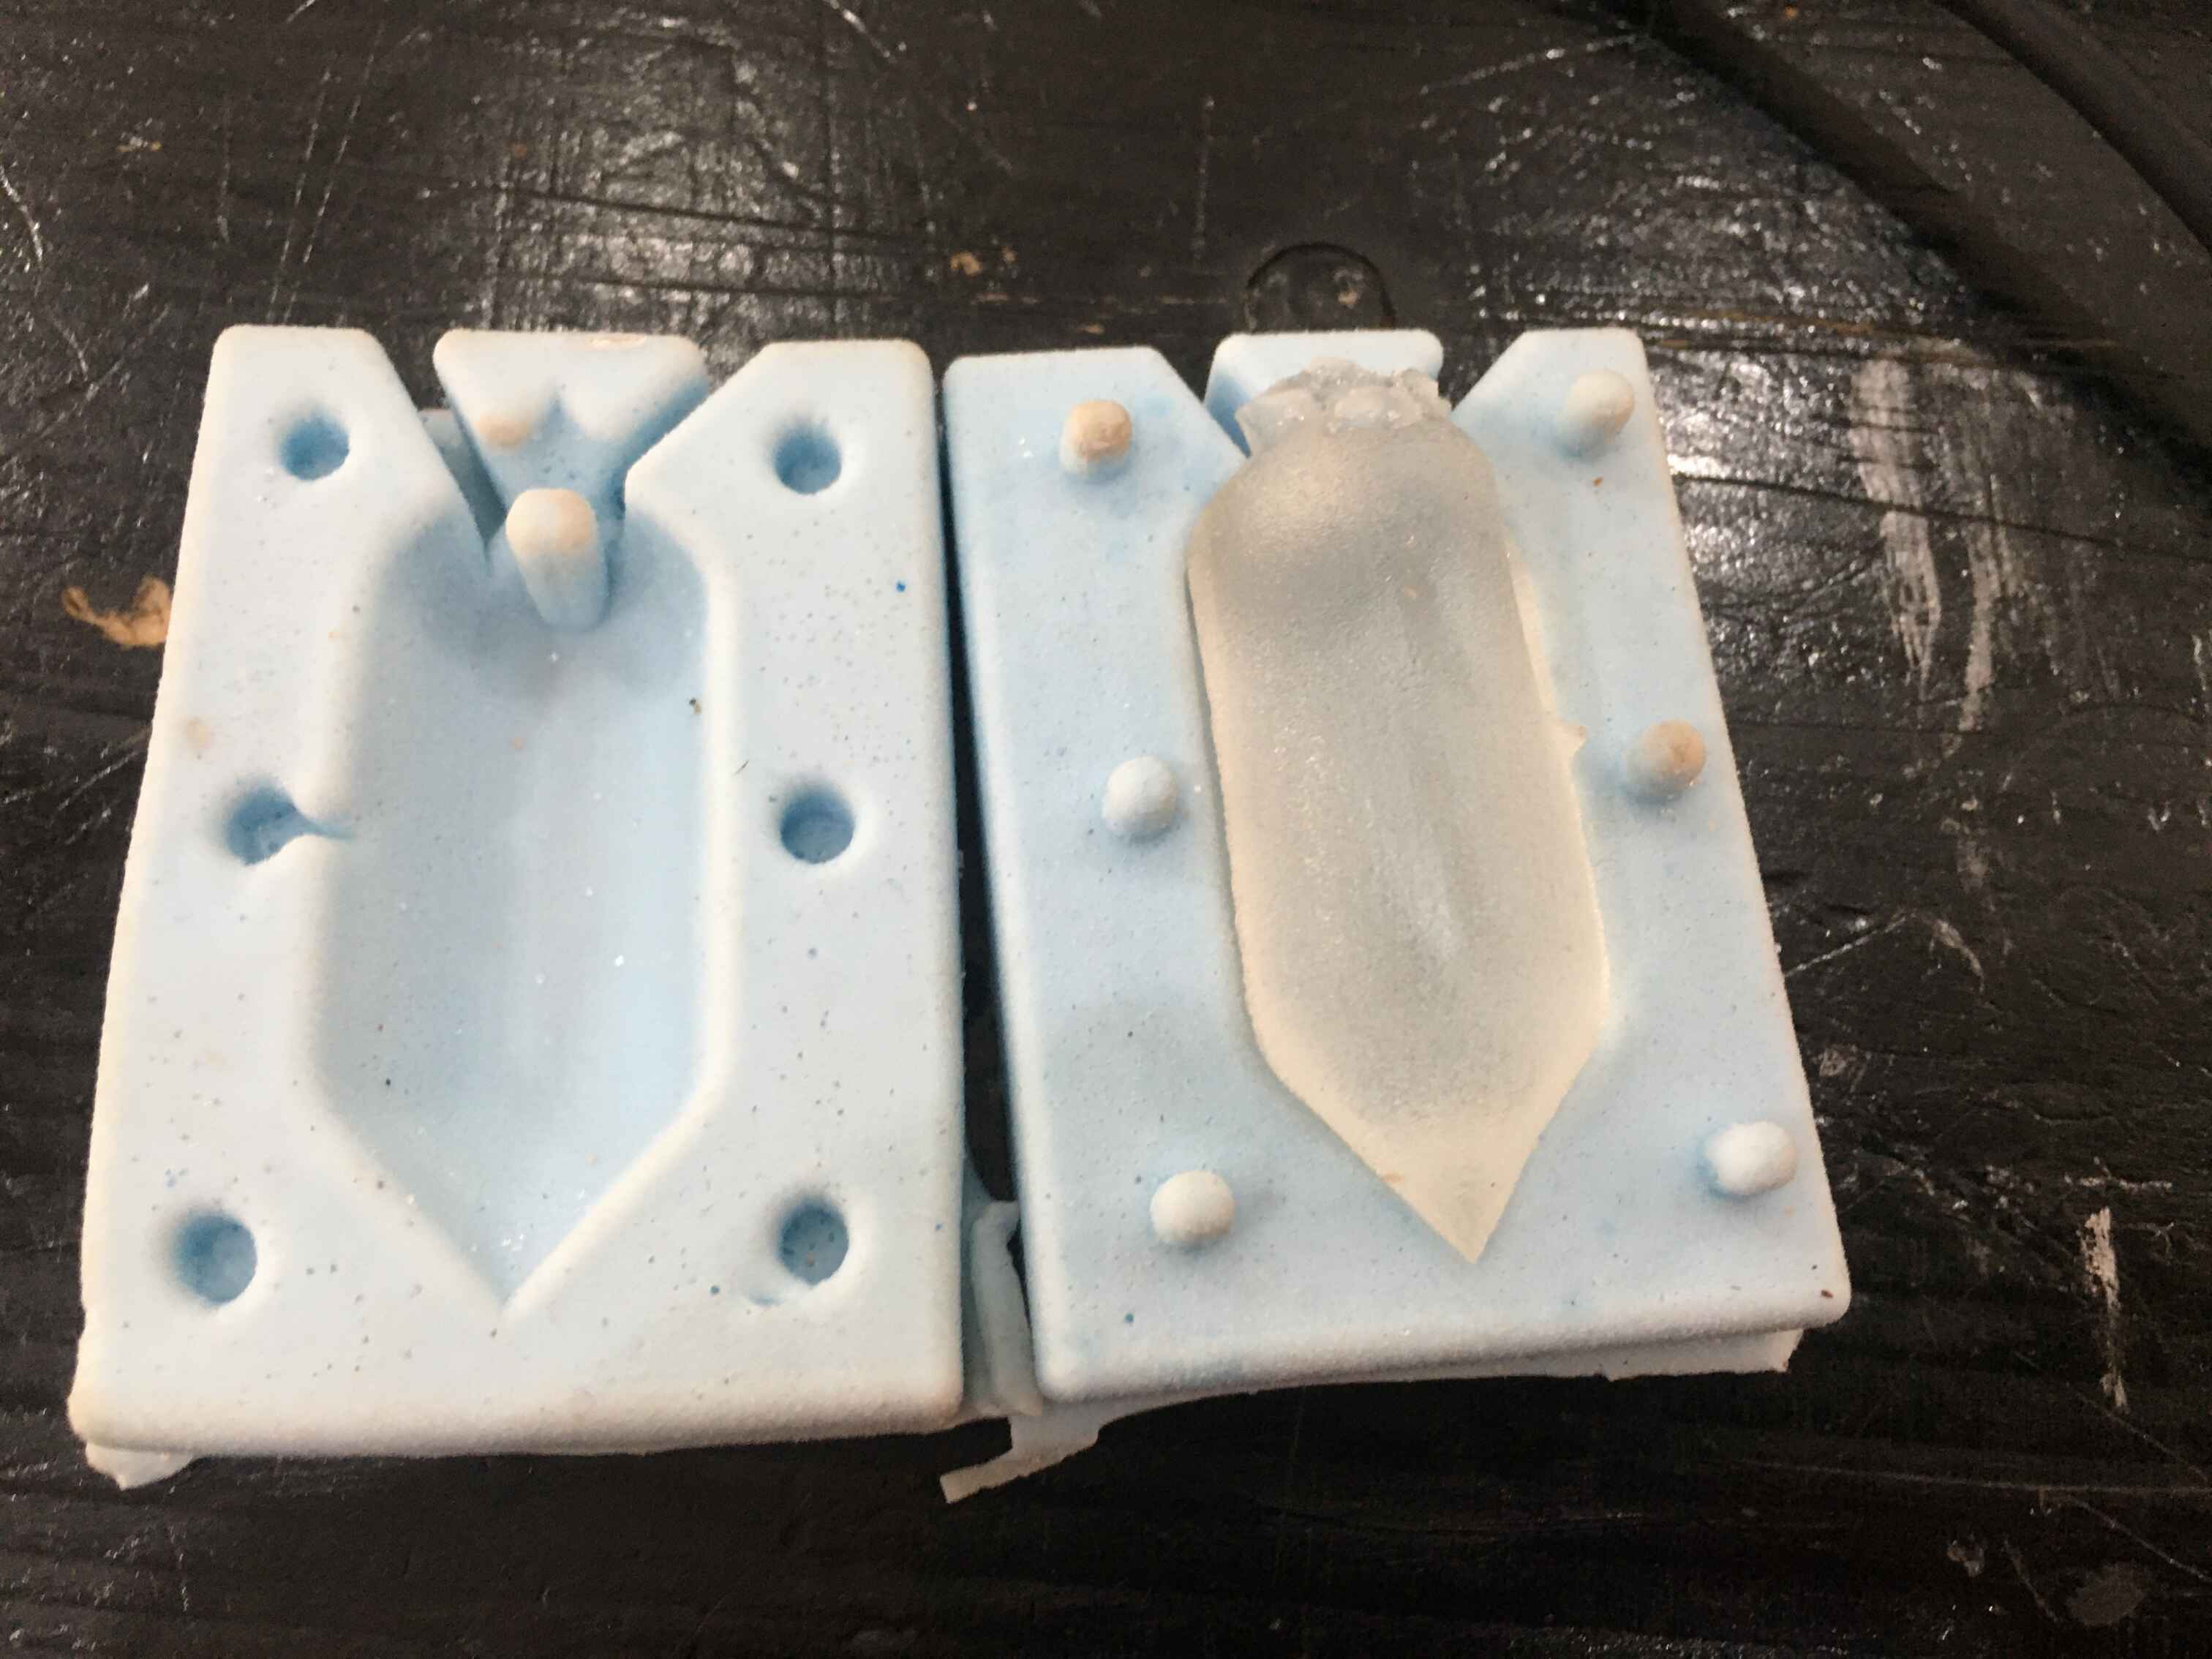
I went home 4AM in the morning and I returned and waited until 2PM and I pulled the silicon. The first half was good but when I went to the seconcd half with the pulging pins I noticed that maybe I released it a bit early.
.jpg)
I poured this half again and waited properly. Then Voila!
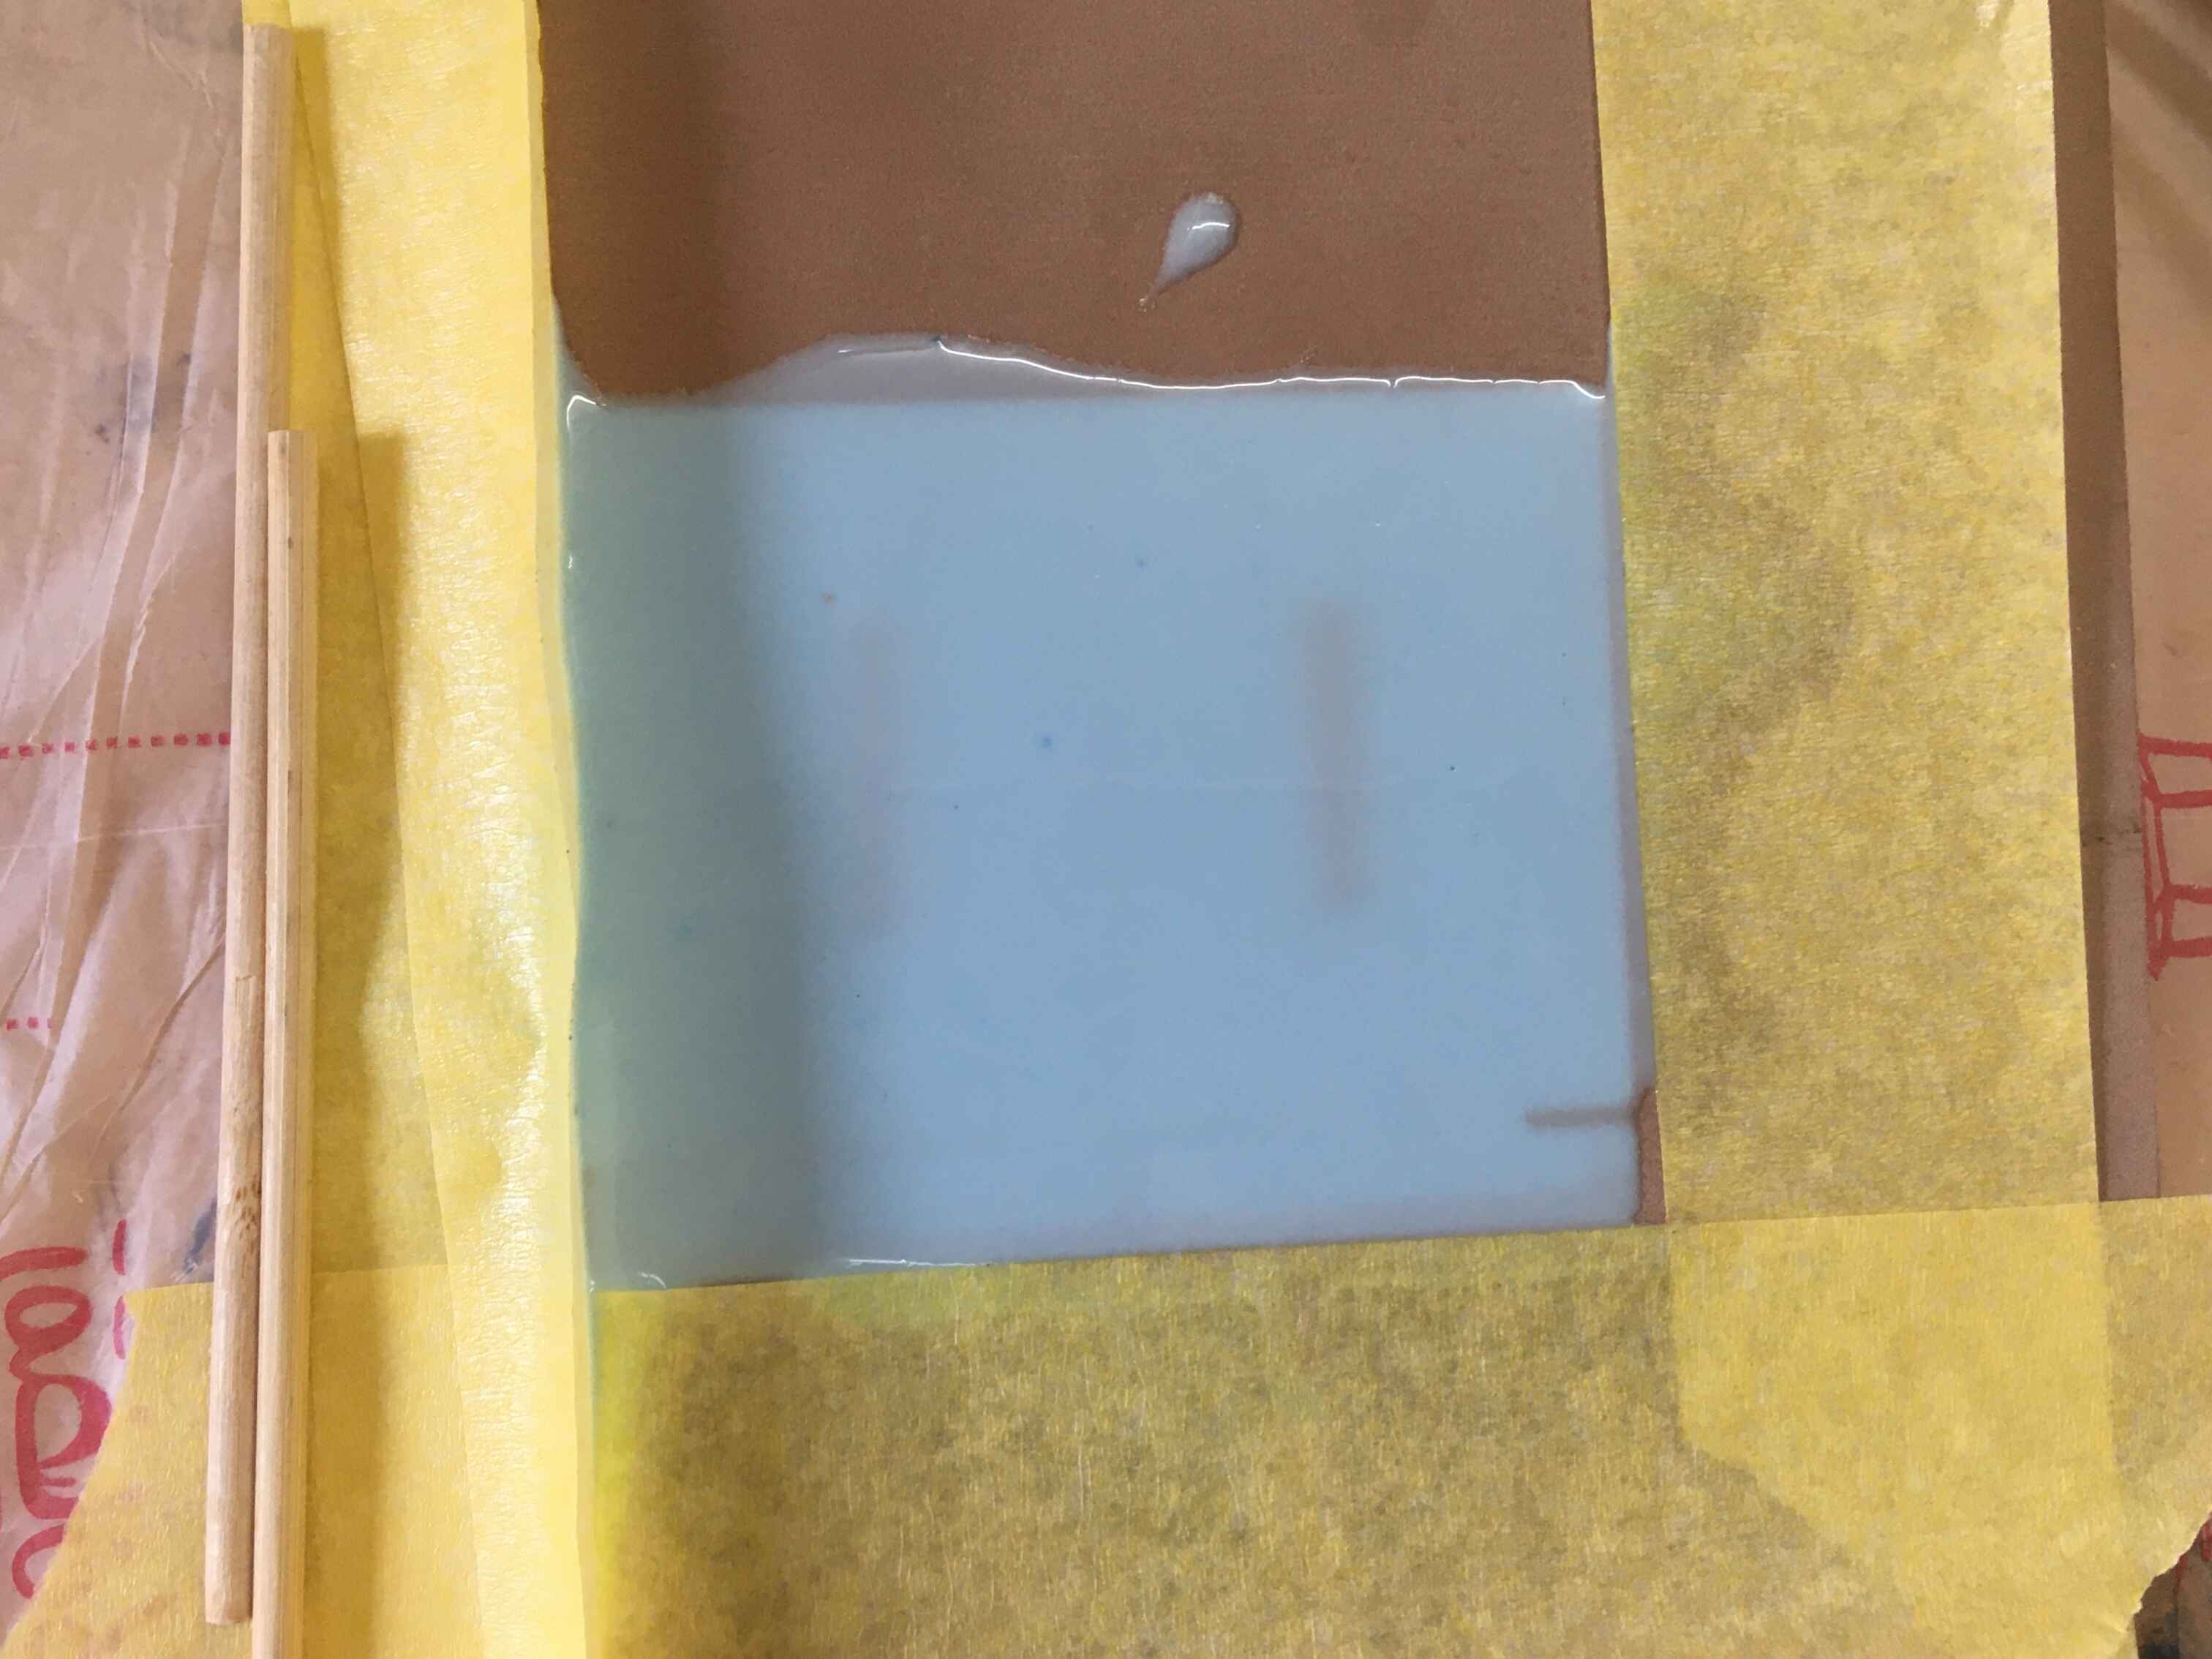
Time for casting the polyester! I wrapped the mold with tape then put to wood

I used the cutter to post process the mold like cutting the edges.
I poured polyseter using the ratios mentioned in Doaa's documentation. I tried to break the vent around the hole but it's so hard to break, I'll try using wet sanding techniques.
Challenges
First: The mold had a lot of bubbles and I apparently didn't shake it enough because I accediantely over-poured it with silicon. Next time I may use the trick I saw in Lamiaa's documentation about using a sander to vibrate the mold.
Second I was trying to see if the mold is ready or not after only 20 hours so I removed one of the silicon molds and it wasn't so two key pins were
Third as you can see the vents are still present in the cast because the polyester was so hard to break with any clippers.
Multiple Hero Shoots!